




How to Settle the Tax Declaration from the Report
The Tax Declaration report allows you to generate the tax accounts settlement journal entry directly from the report, without needing to create it manually from the Journal Entries screen. In this article, we explain the steps to settle the tax declaration in detail.
Steps to Settle the Tax Declaration from the Report
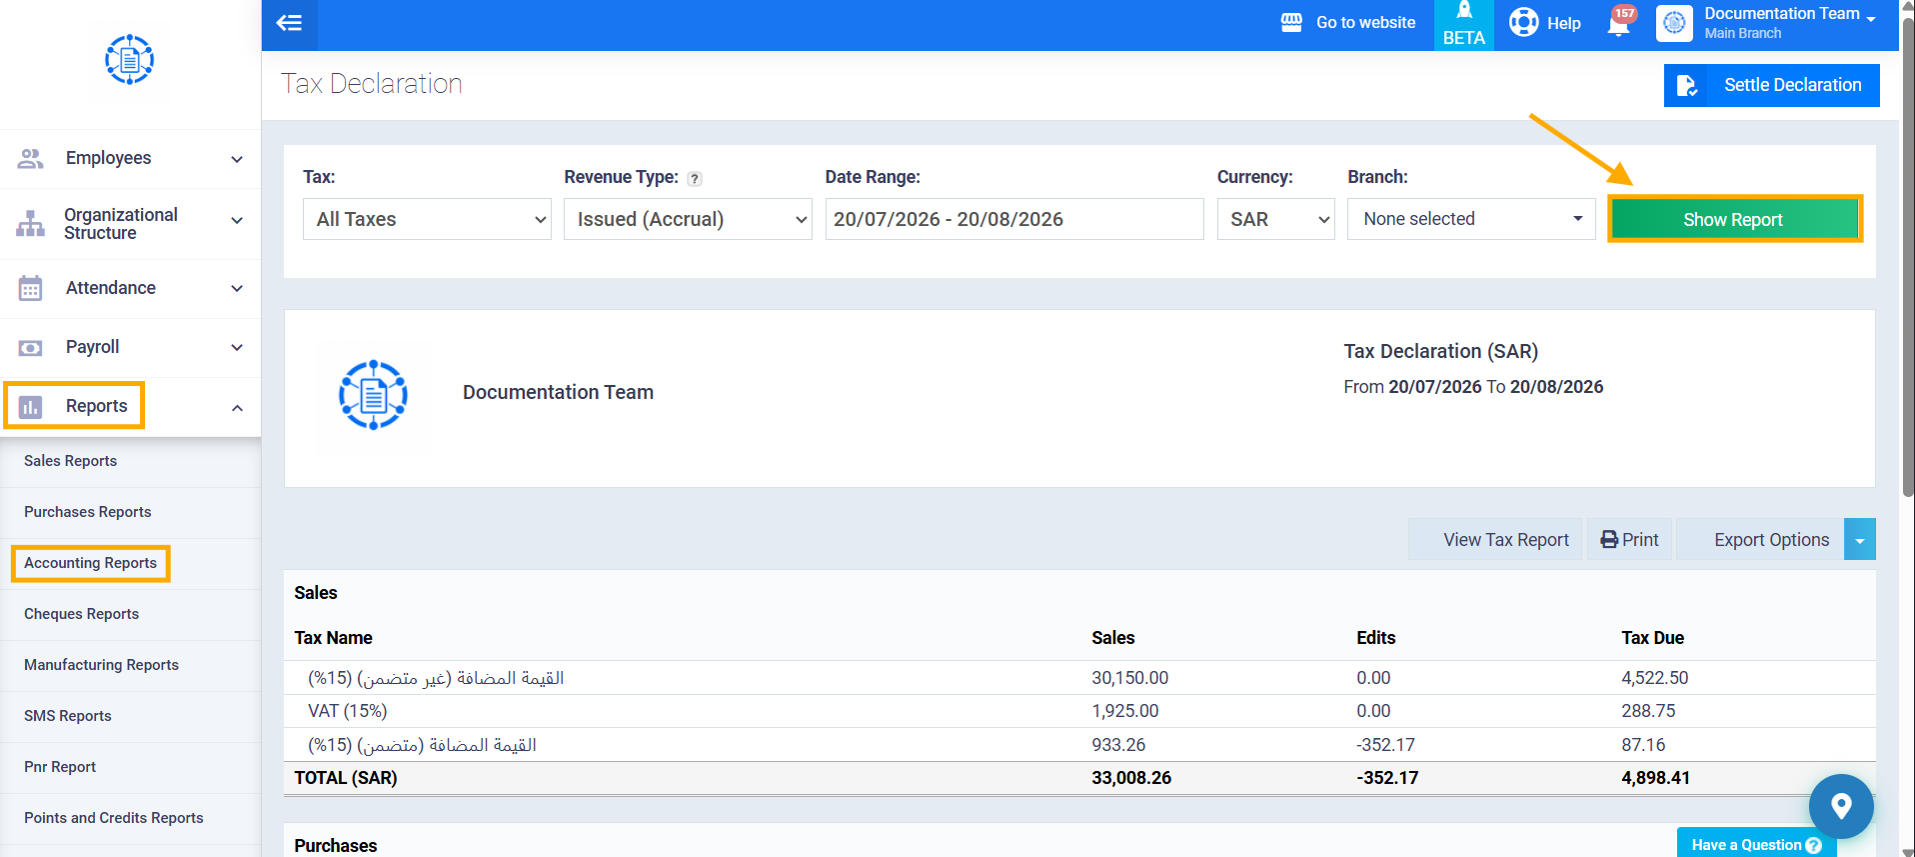
Step 1: View the Tax Declaration Report
Go to the “Tax Declaration” report under “Accounting Reports,” set the required filter criteria (From/To period, tax type, etc.), then click “Show Report.”
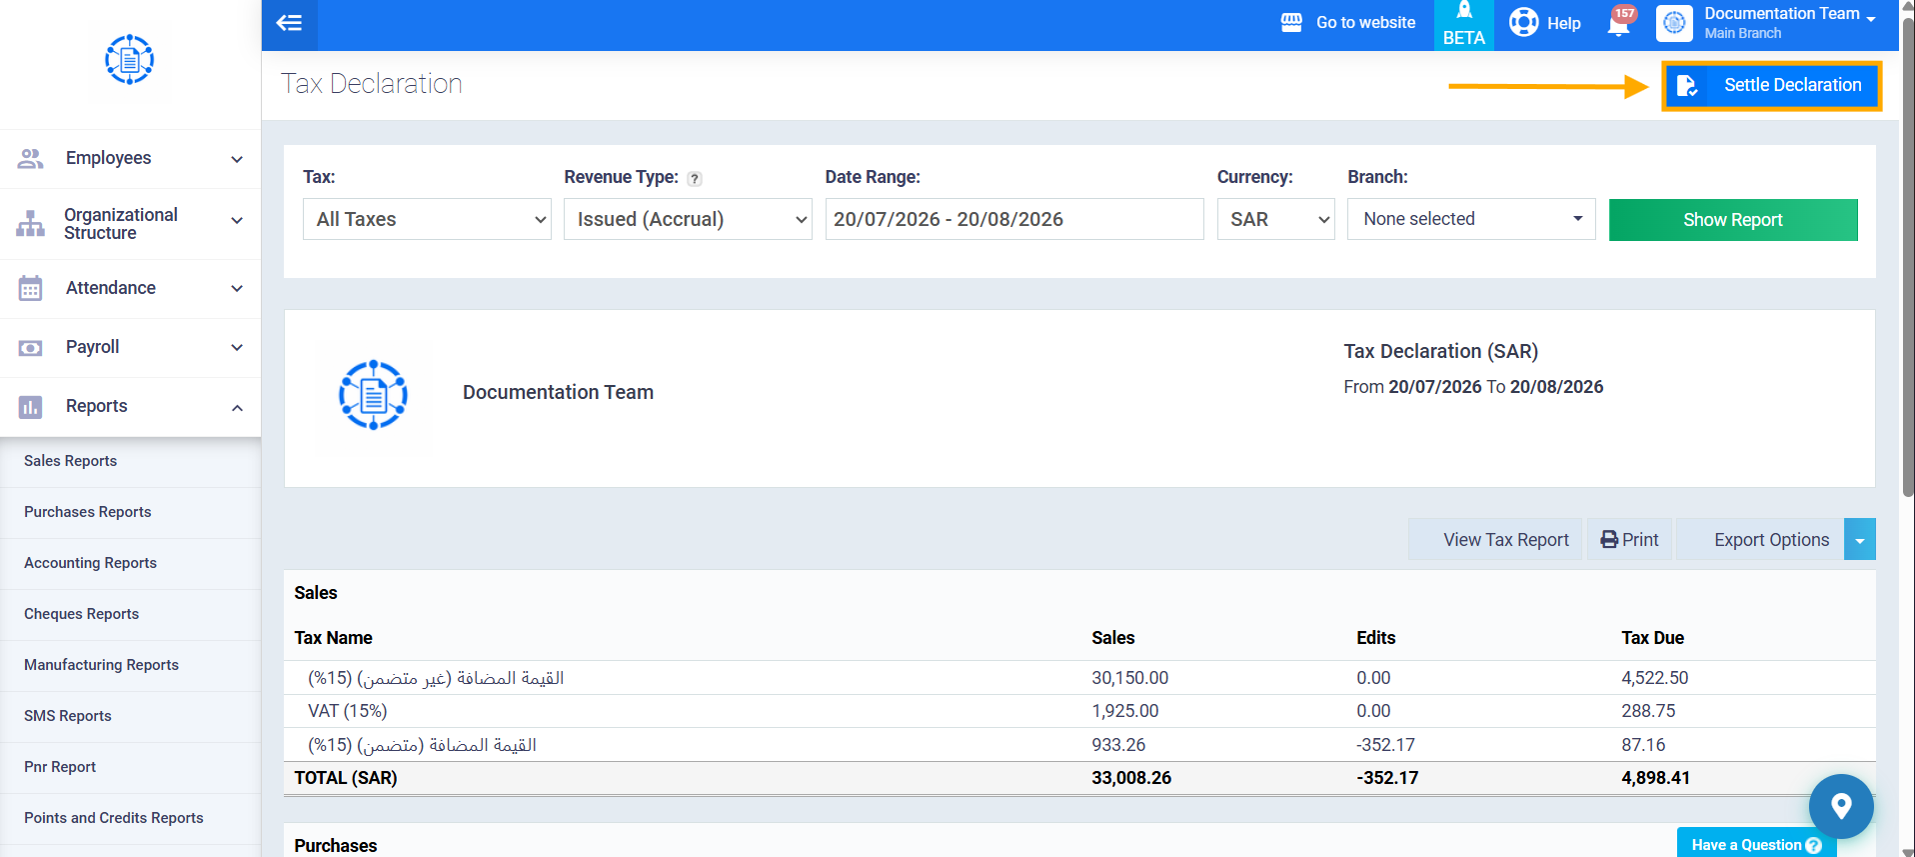
Step 2: Click the “Settle Declaration” Button
Once the report results appear, click the “Settle Declaration” button at the top of the page.
Note: this button only appears after the report has actually loaded, and it disappears entirely if the report returns no results, or if you don’t have the “Add/Edit All Journals” permission.
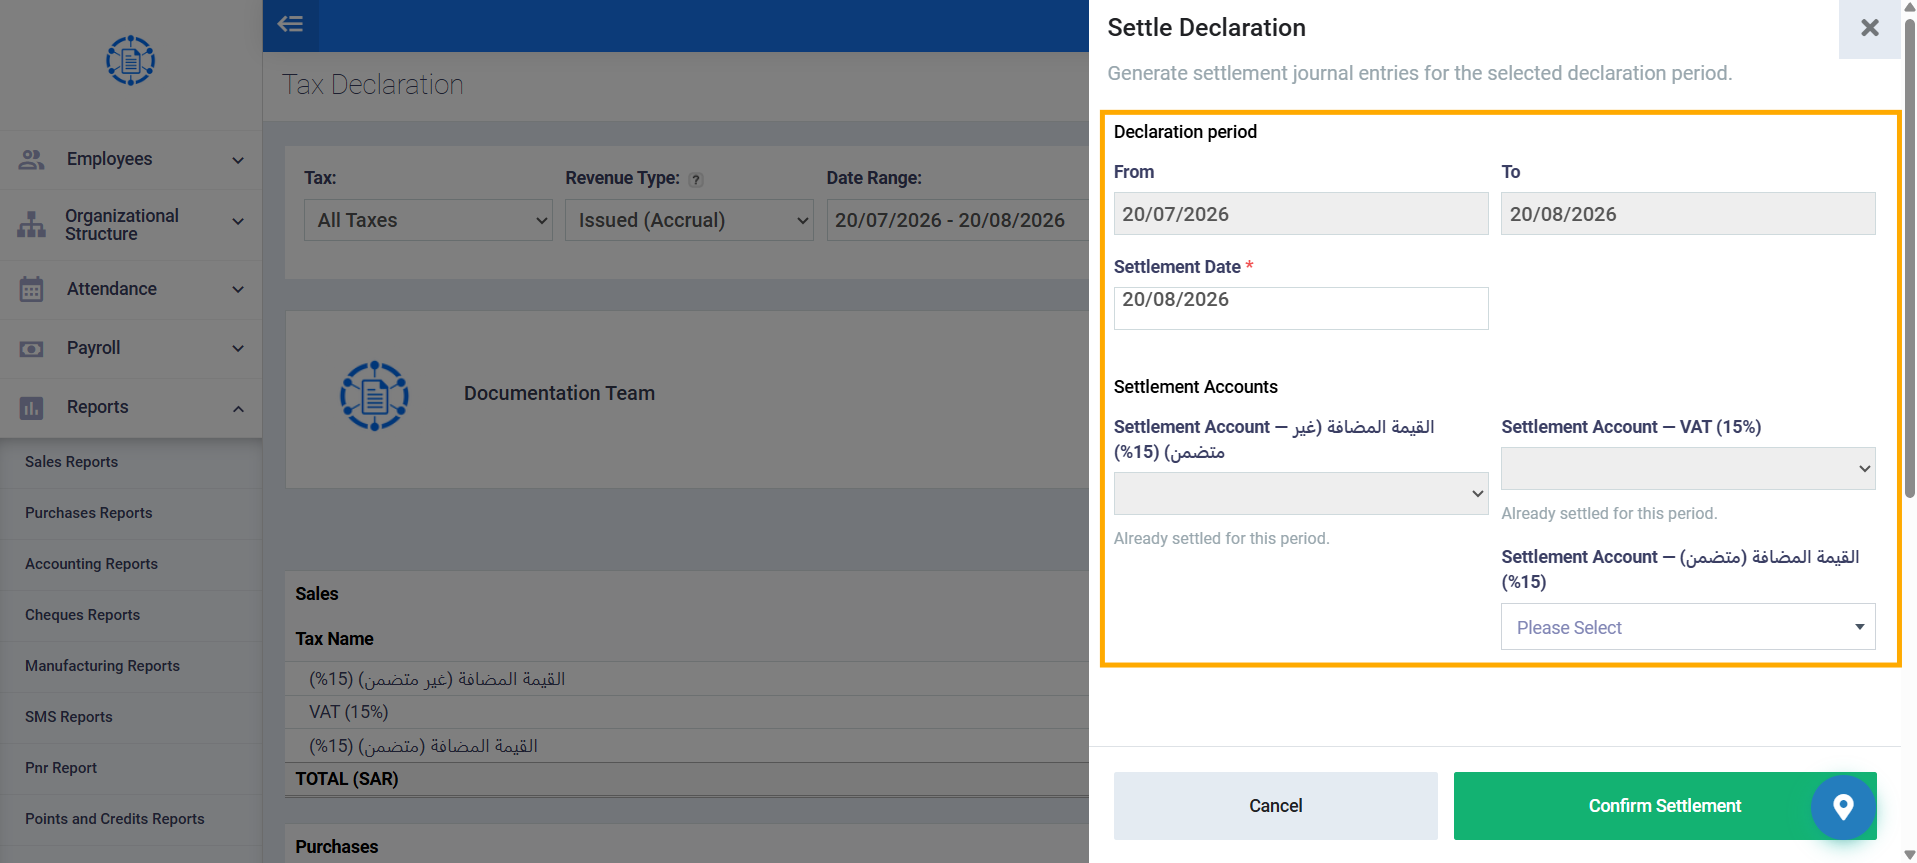
Step 3: Fill In the Settlement Window
The “Settle Declaration” window appears and includes the following fields:
- Declaration Period: displayed as read-only, automatically filled from the “From – To” dates specified in the report filters.
- Settlement Date (required): this date represents the journal entry’s own date (not the date it was actually created). Default value: the last day of the selected period.
- Settlement Account (per tax type): one dropdown per tax type present in the report results (required, searchable by name or account number, and displays sub-accounts only). If the report contains only one tax type, only one dropdown appears; if it contains more than one type, a separate dropdown appears for each type, with a label showing the tax name (e.g., “Settlement Account — VAT (15%)”).
Step 4: Confirm the Settlement
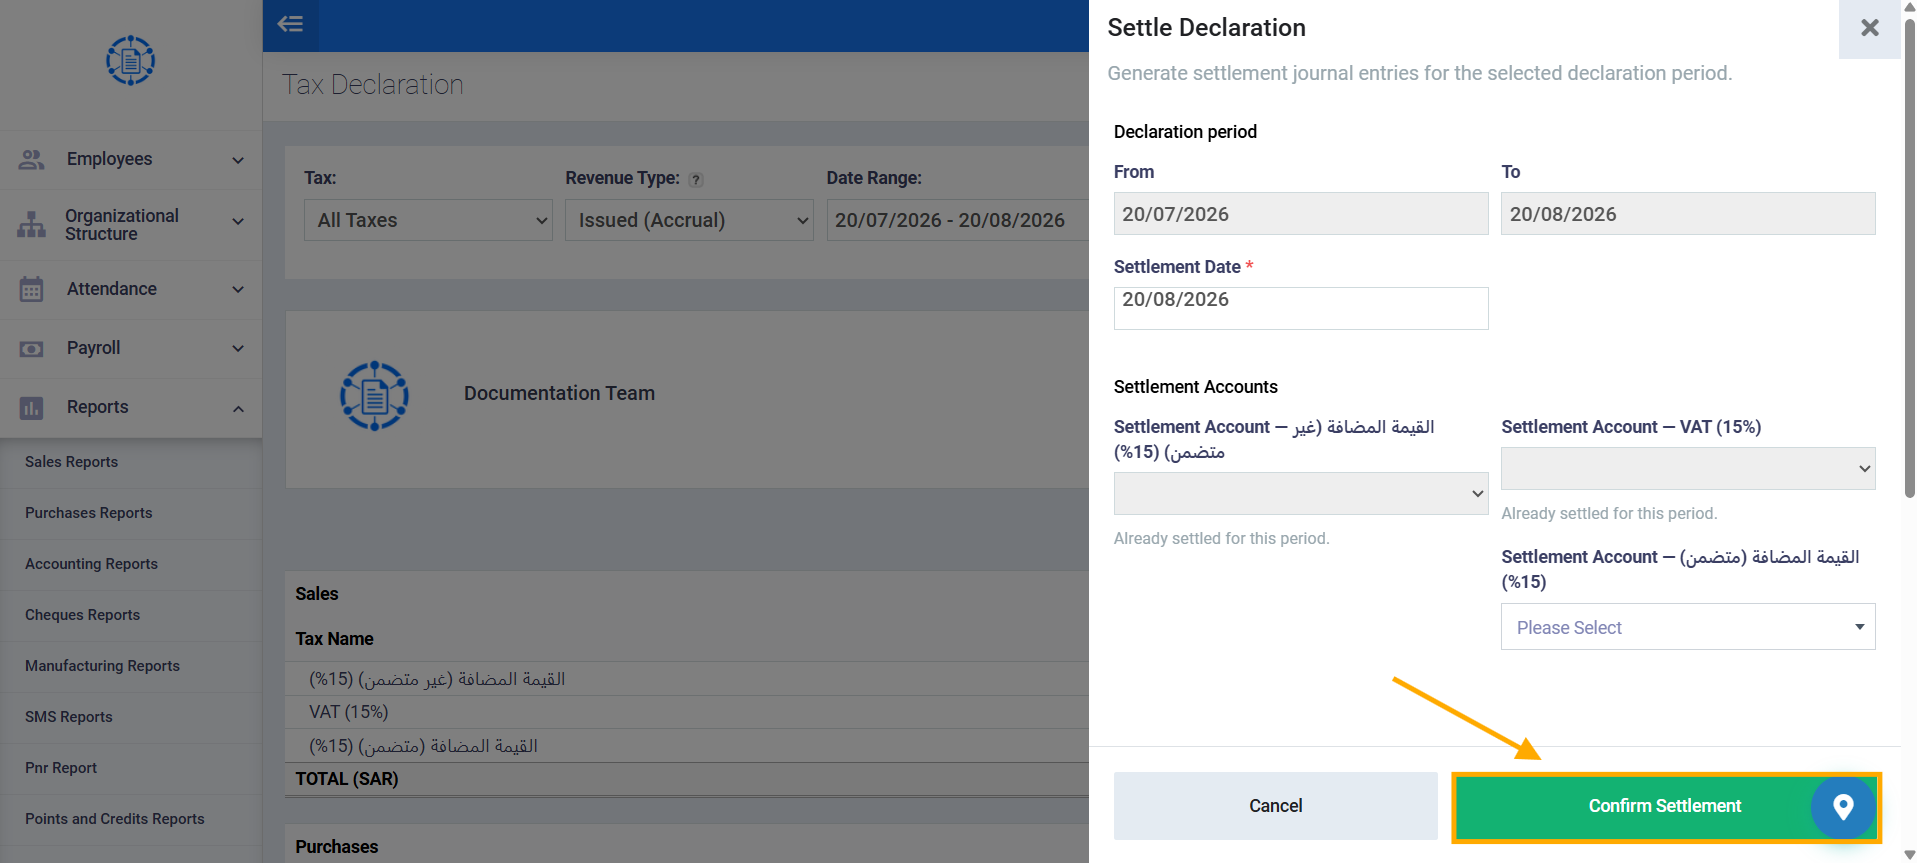
After specifying the settlement date and the required settlement account(s), click “Confirm Settlement.”
The system automatically generates a separate settlement journal entry for each tax type, then redirects you directly to the generated journal entry’s view screen.