System Registration Guide
Registering to the system requires a few simple steps in order to create an account successfully. In this tutorial, we will take you through the new registration add-ons to enhance the process.
Getting Started
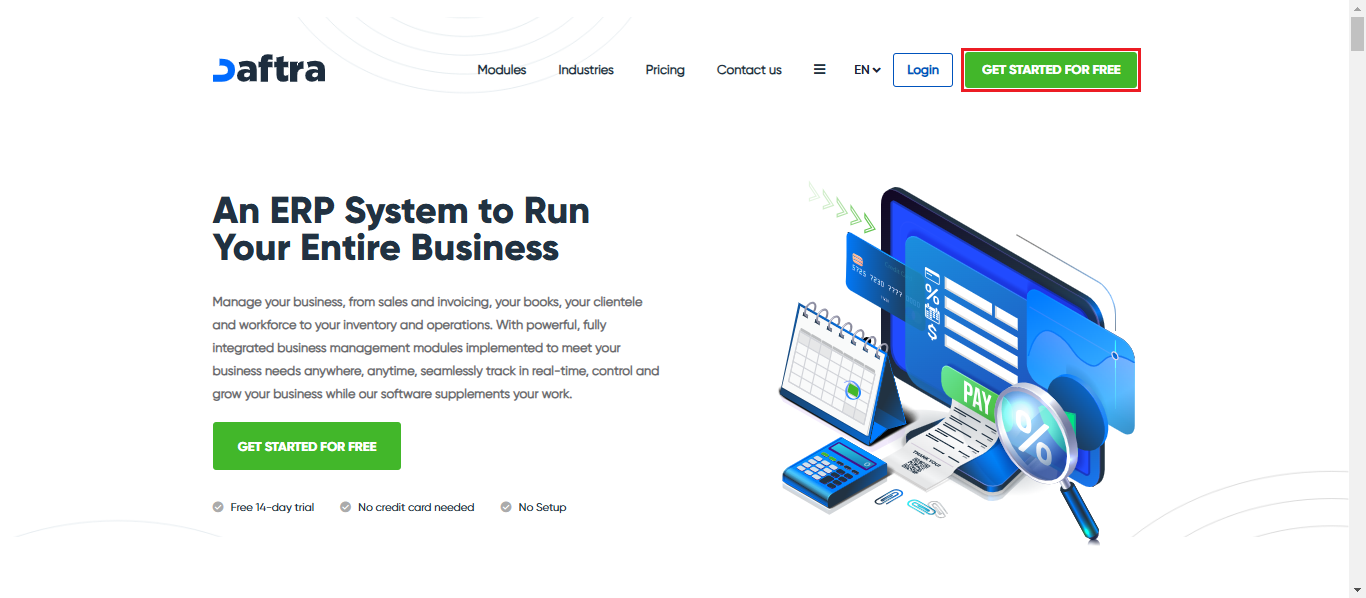
When you visit the website, you’ll see the ‘Get Started For Free‘ button in the top-right corner of the screen. Simply click on it to begin.
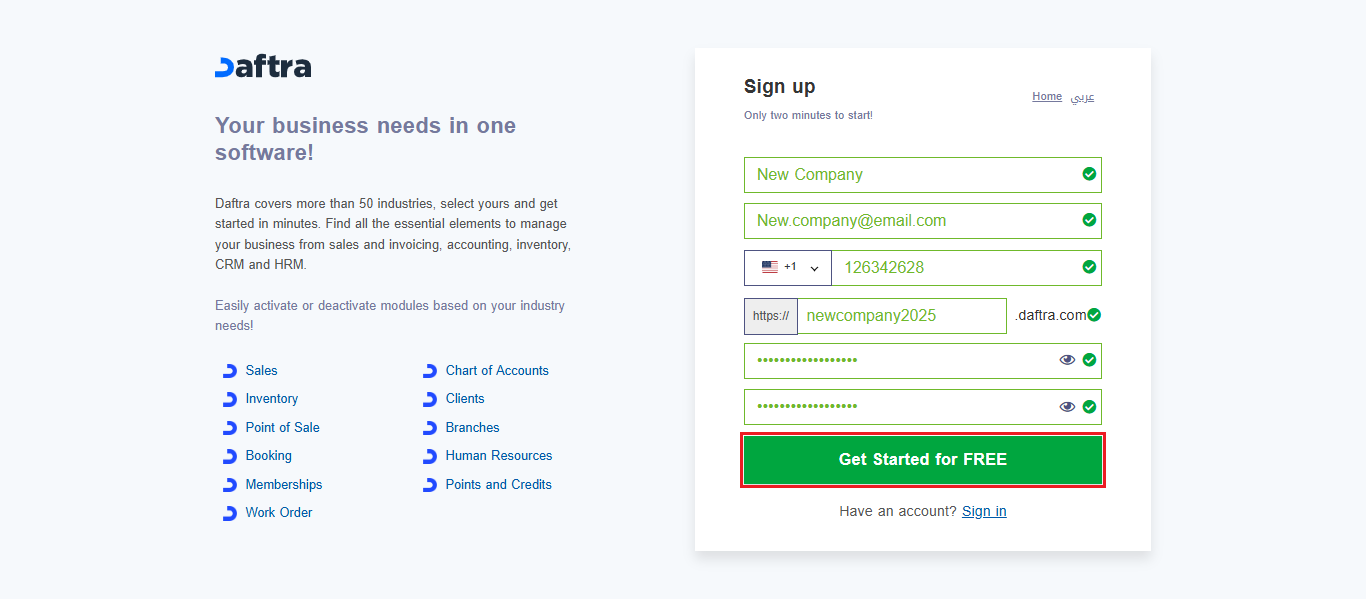
You will now be directed to the registration screen, where you can enter your business’s information.

Fill in the following required data:
- Business Name: Enter the name of your business.
- Email Address: Provide a valid email address for account communication.
- Mobile Number: Enter your mobile number, as well as the country code.
- Domain: The system will automatically recommend a unique domain for you, but you can edit or change it if needed.
- Password: Set a secure password for your account.
- Re-enter Password: Confirm your password by entering it again.
After filling all required data, click on the “Get Started For Free” button.
Registration Add-ons
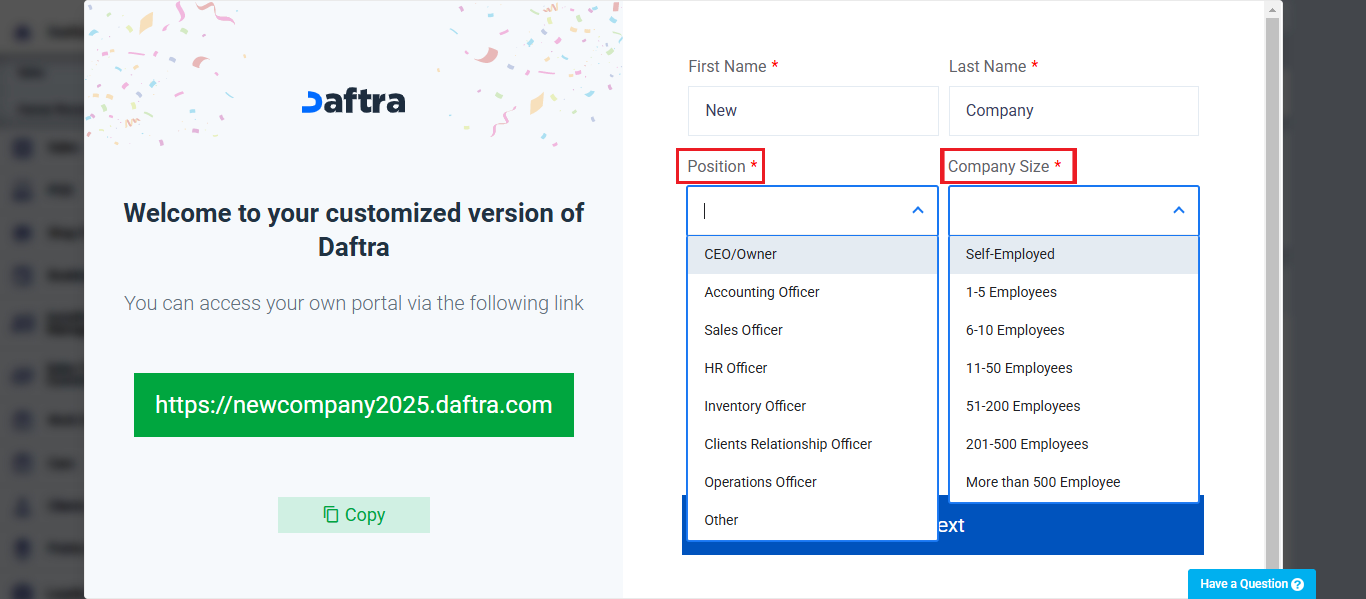
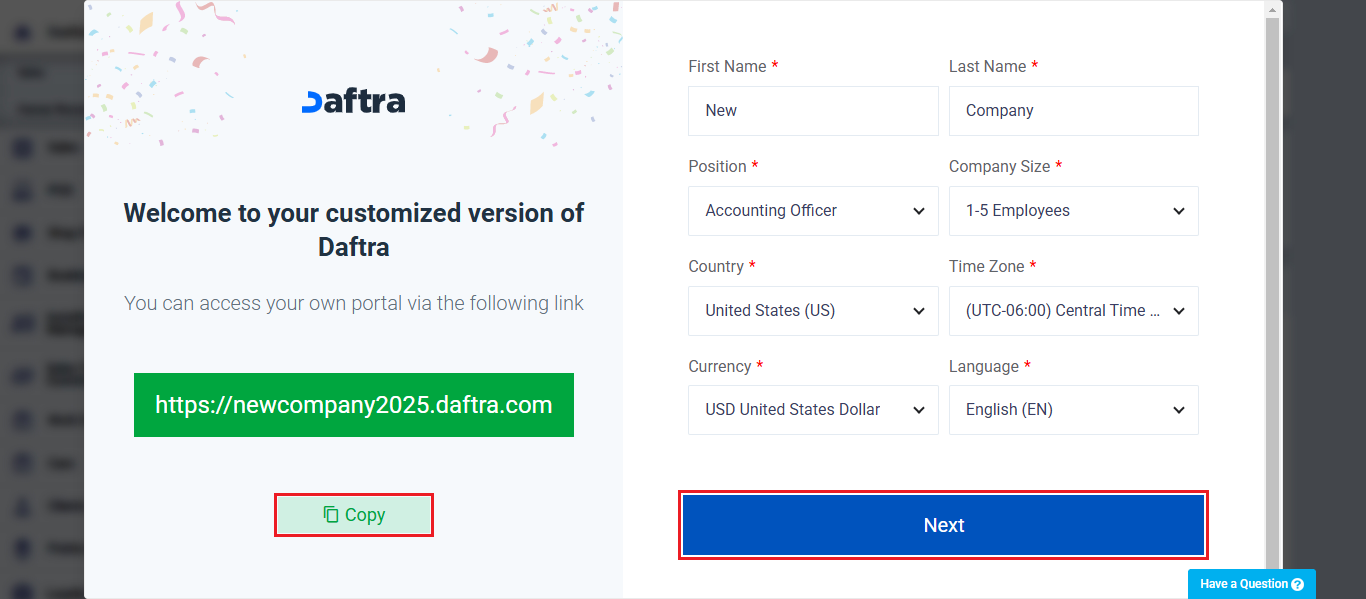
You can also choose to edit your country, time zone, currency, and account language. On the left side of the screen, you can copy your account domain or link by clicking the ‘Copy‘ button.
Click “Next” to complete the registration process.
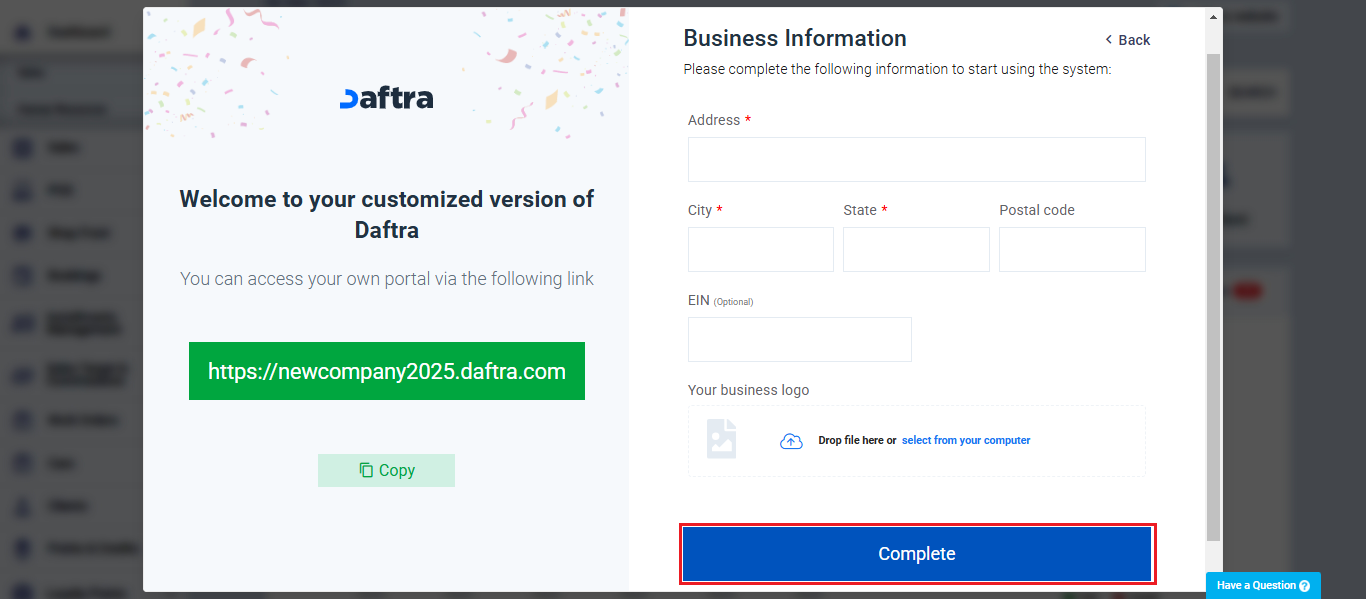
Fill in the following:
- Address: Enter the physical address of your business.
- City: Provide the city where your business is located.
- State: Specify the state or province.
- Postal Code: Enter the postal code.
- EIN: Enter your Employer Identification Number (EIN) for tax purposes.
- Business Logo: Upload your business logo for identification.
Then click “Complete“.
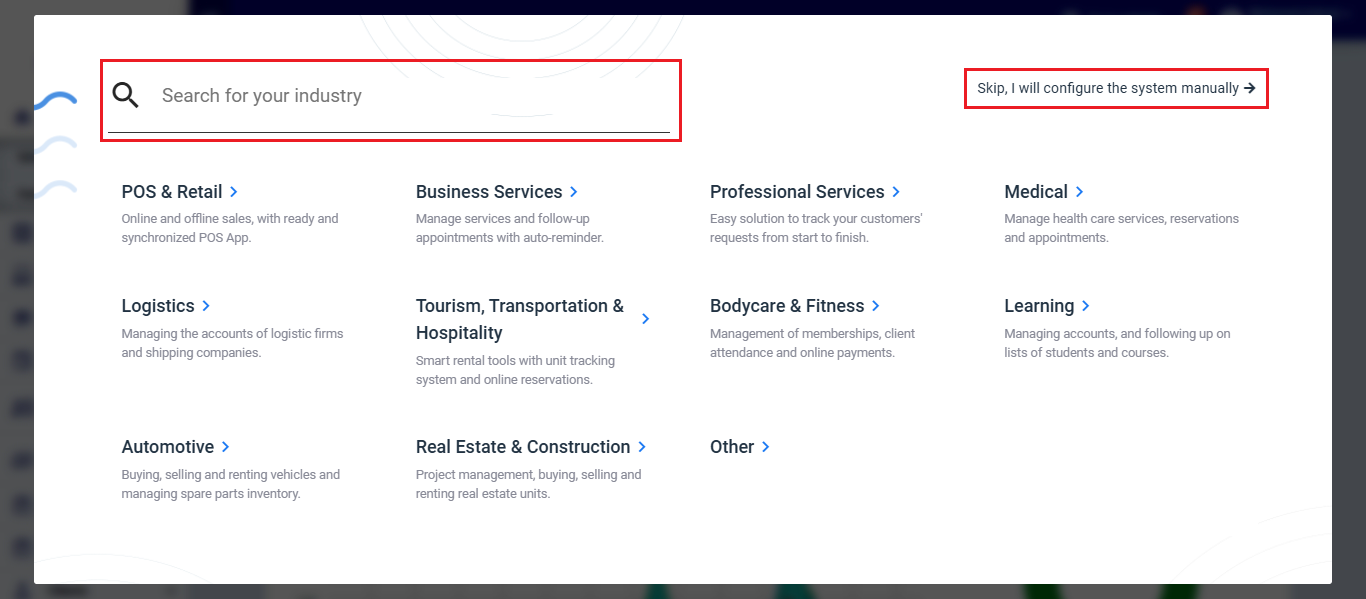
The final step is to choose your business industry or search for it in the search box. Alternatively, you can click on ‘Skip, I will configure the system manually‘ to skip this step.
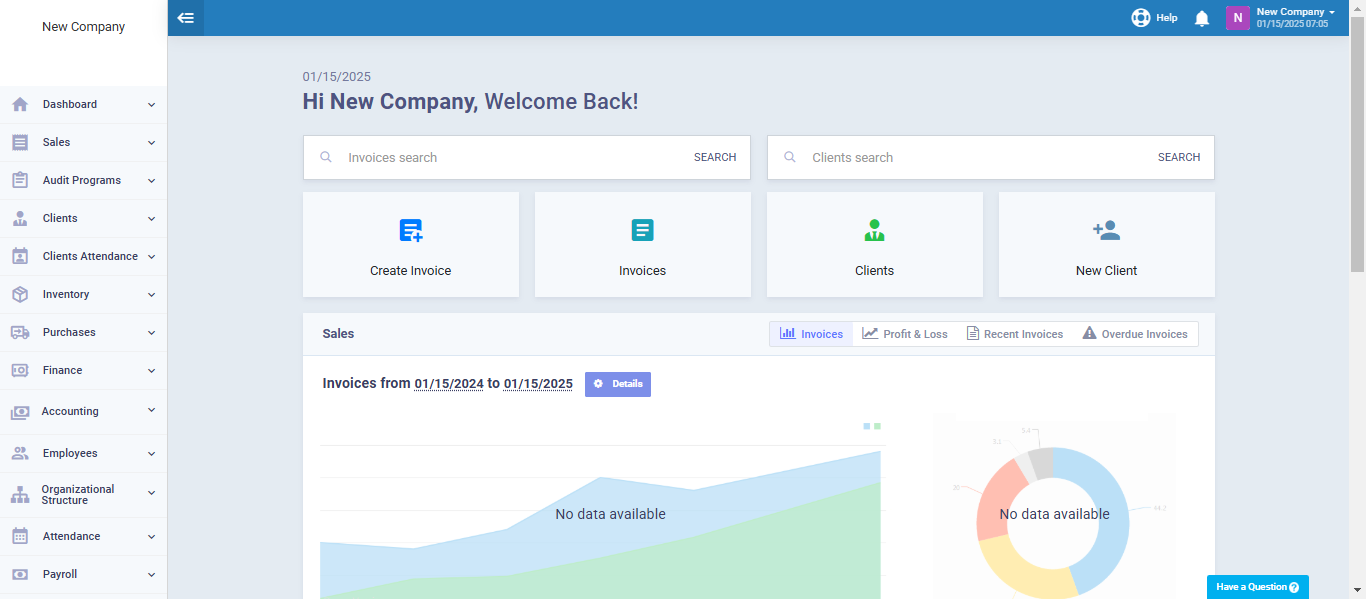
The account is now successfully created. You can now start using the system.
How Position Selection Affects Account Features
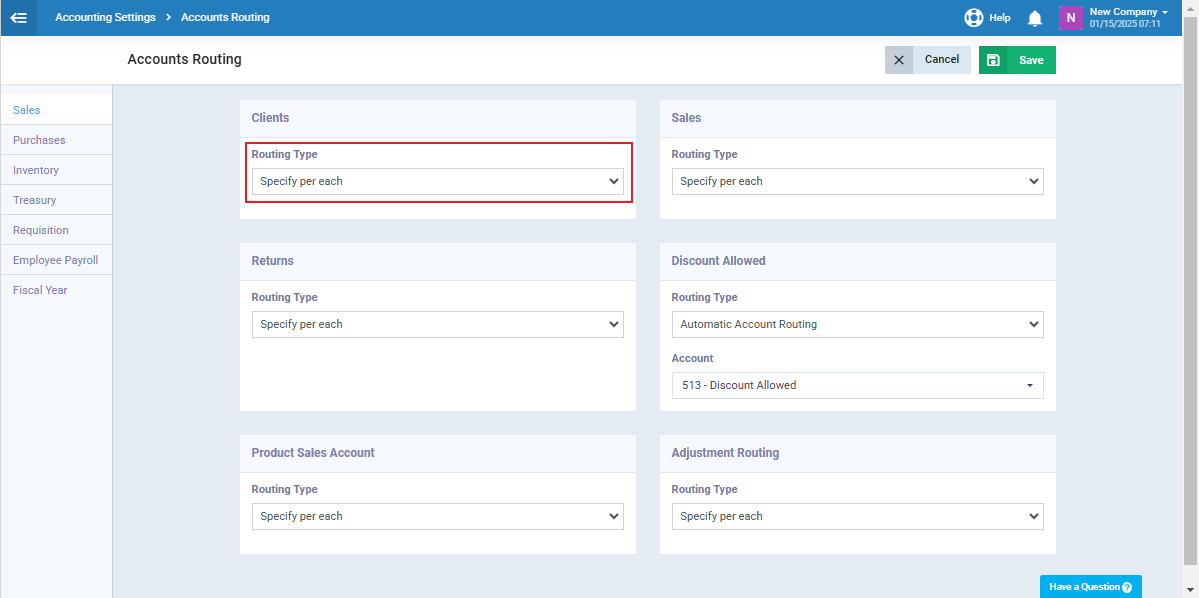
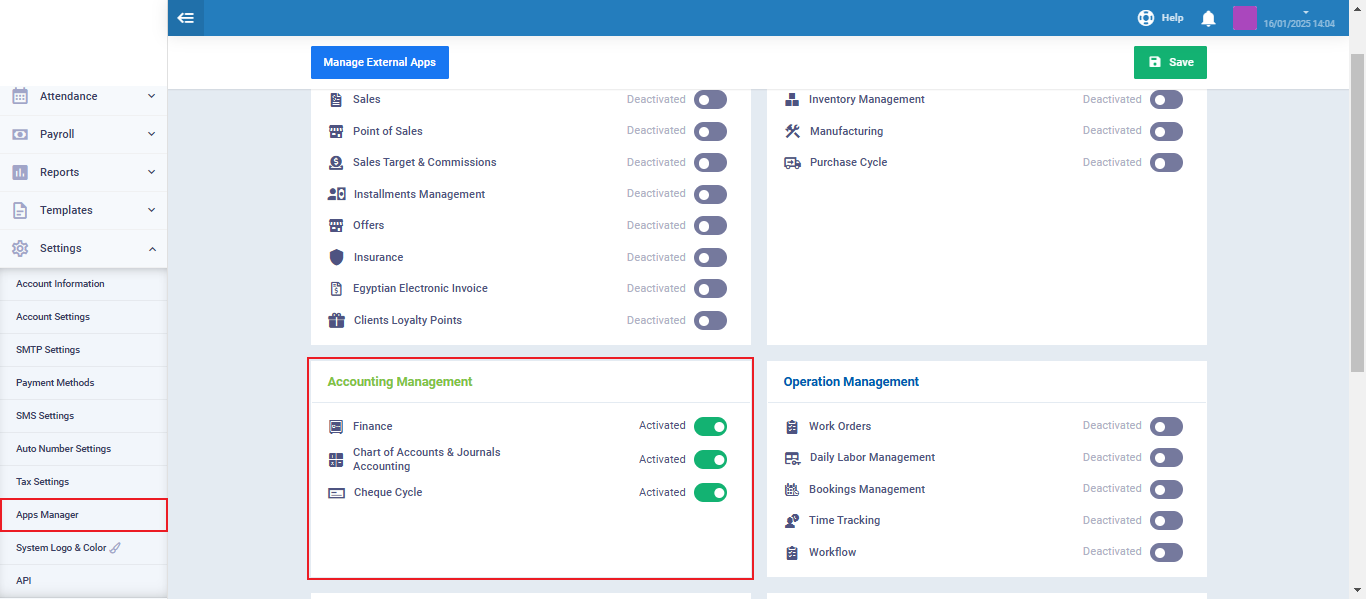
In the account we previously created, we selected the account creator’s position as ‘Accounting Officer‘. As a result, the ‘Accounting Management‘ app will be automatically enabled, along with some accounting features, such as ‘Accounts Routing‘, which will also be enabled by the system.
From the main menu click on “Accounting Settings” in the dropdown menu of “Accounting“, then select the “Accounts Routing” tab.
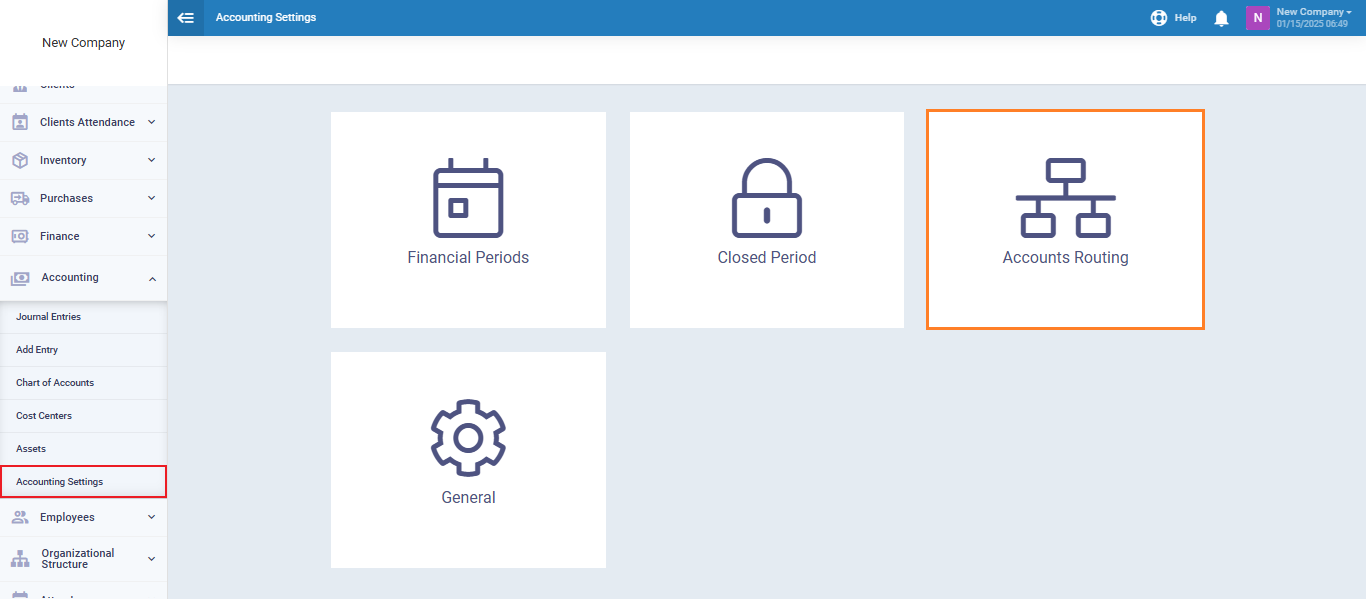
You’ll find that the routing type for all accounts is automatically set to ‘Specify per each‘ to allow you to select the desired account for routing the transaction within the transaction itself.
