




Recording an Expense by Scanning the Invoice QR Code
The system allows you to record a new expense by scanning the invoice’s QR code, and the system automatically extracts the expense and supplier data from the invoice. This reduces the time spent on data entry and improves accuracy. This guide explains the scanning steps, the data the system extracts automatically, and how it handles the supplier extracted from the invoice.
Entry points
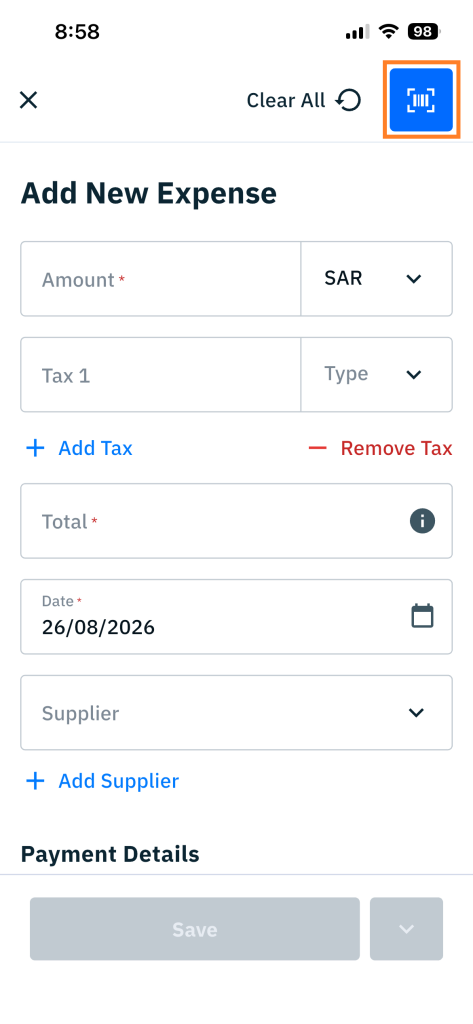
- Tapping Add (+) from the Expenses List screen, then tapping the QR scan icon.
- Tapping Add Expense from the Dashboard.
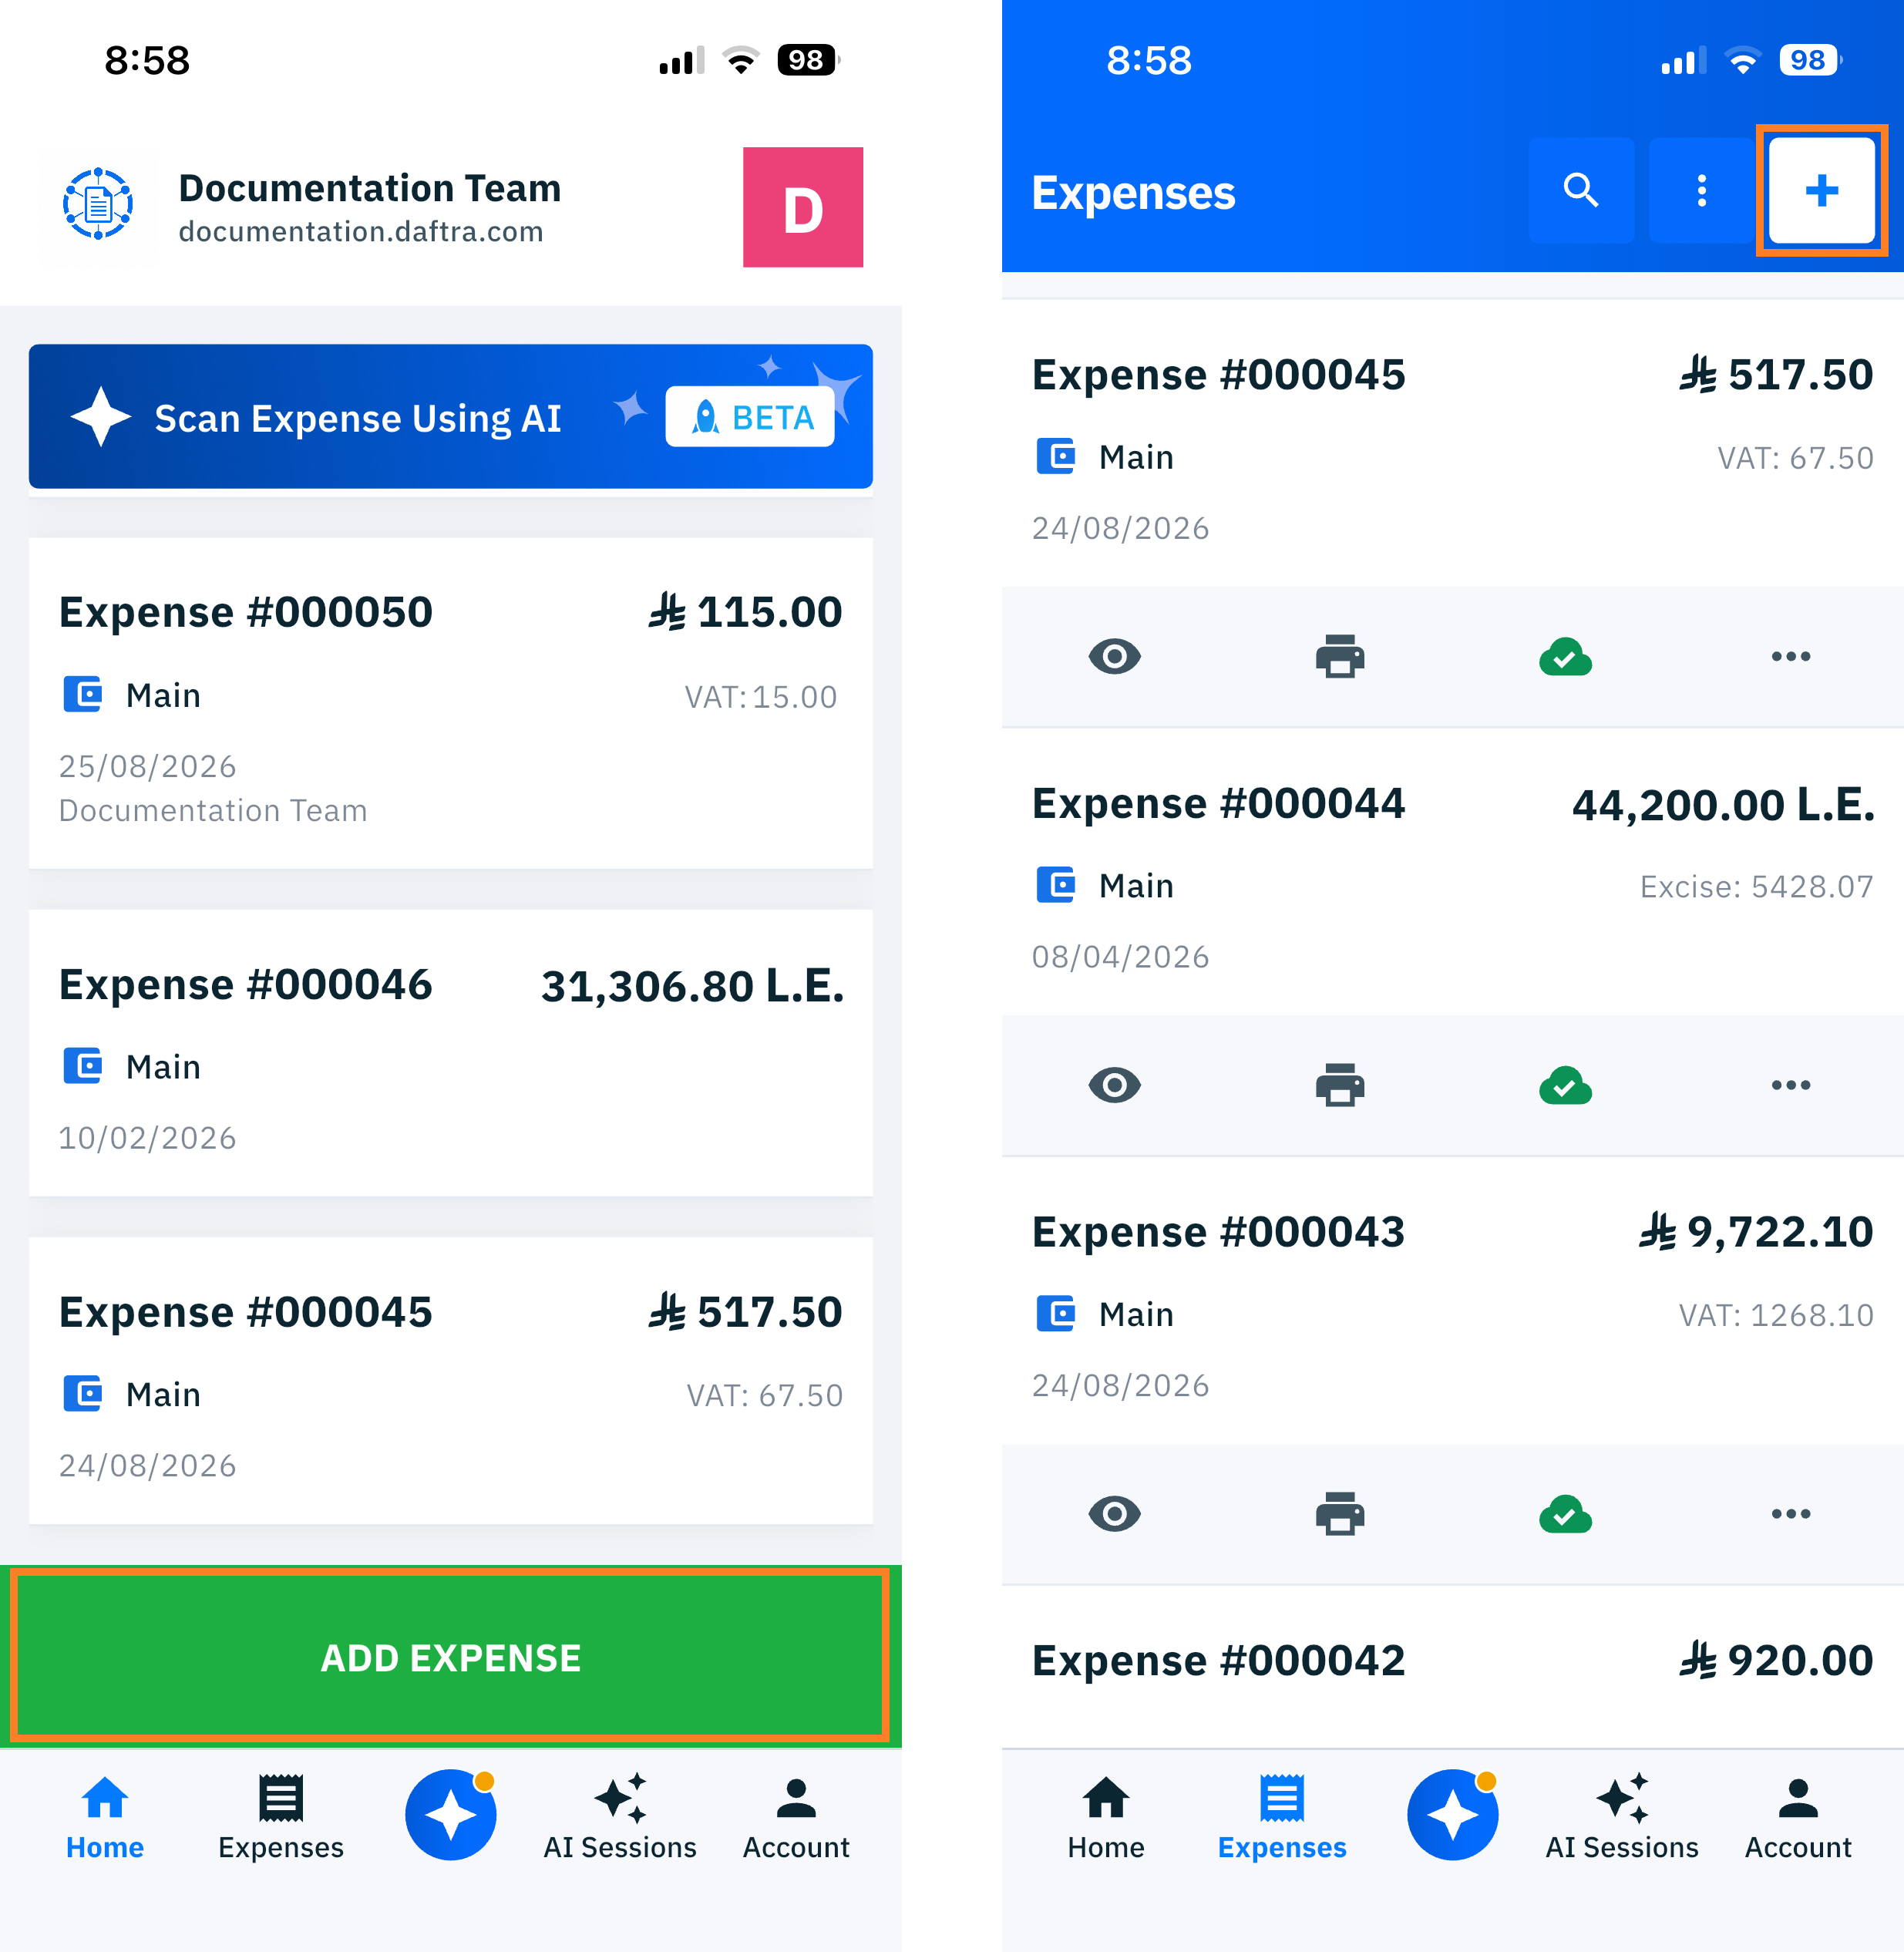
Then choosing to scan the invoice via QR.
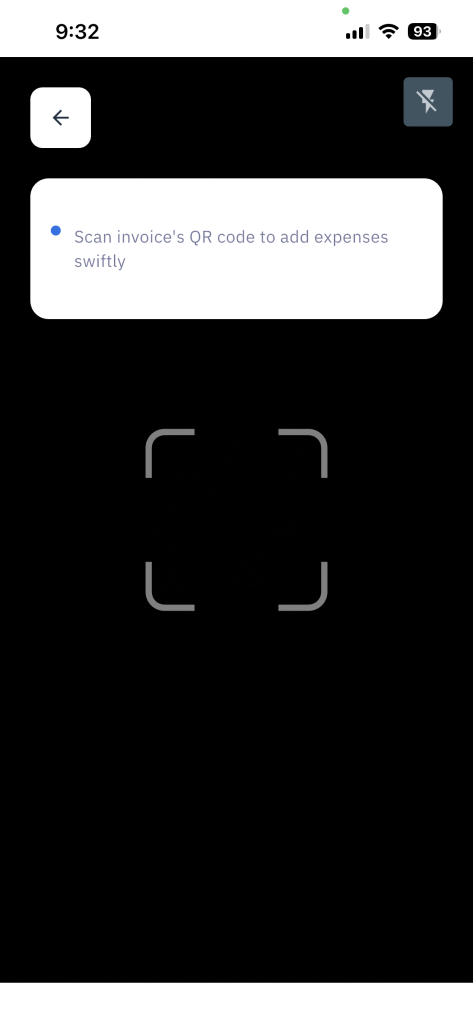
Invoice Scan Screen
- Guidance message shown to the user: “Scan invoice’s QR code to add expenses swiftly.”
- Flash icon to turn the light on/off when scanning in a dark environment.
- A square scan frame in the center of the screen to align the camera with the invoice’s QR code.
- An arrow to proceed or skip (top-right of the screen).
Steps to Scan an Invoice via QR
- Tap the QR scan icon from the “Add Expense” screen, or from the “Expenses” list screen.
- Point the device’s camera at the QR code printed on the invoice, within the scan frame.
- The system reads the code automatically and begins extracting the invoice data, without requiring any additional action from the user.
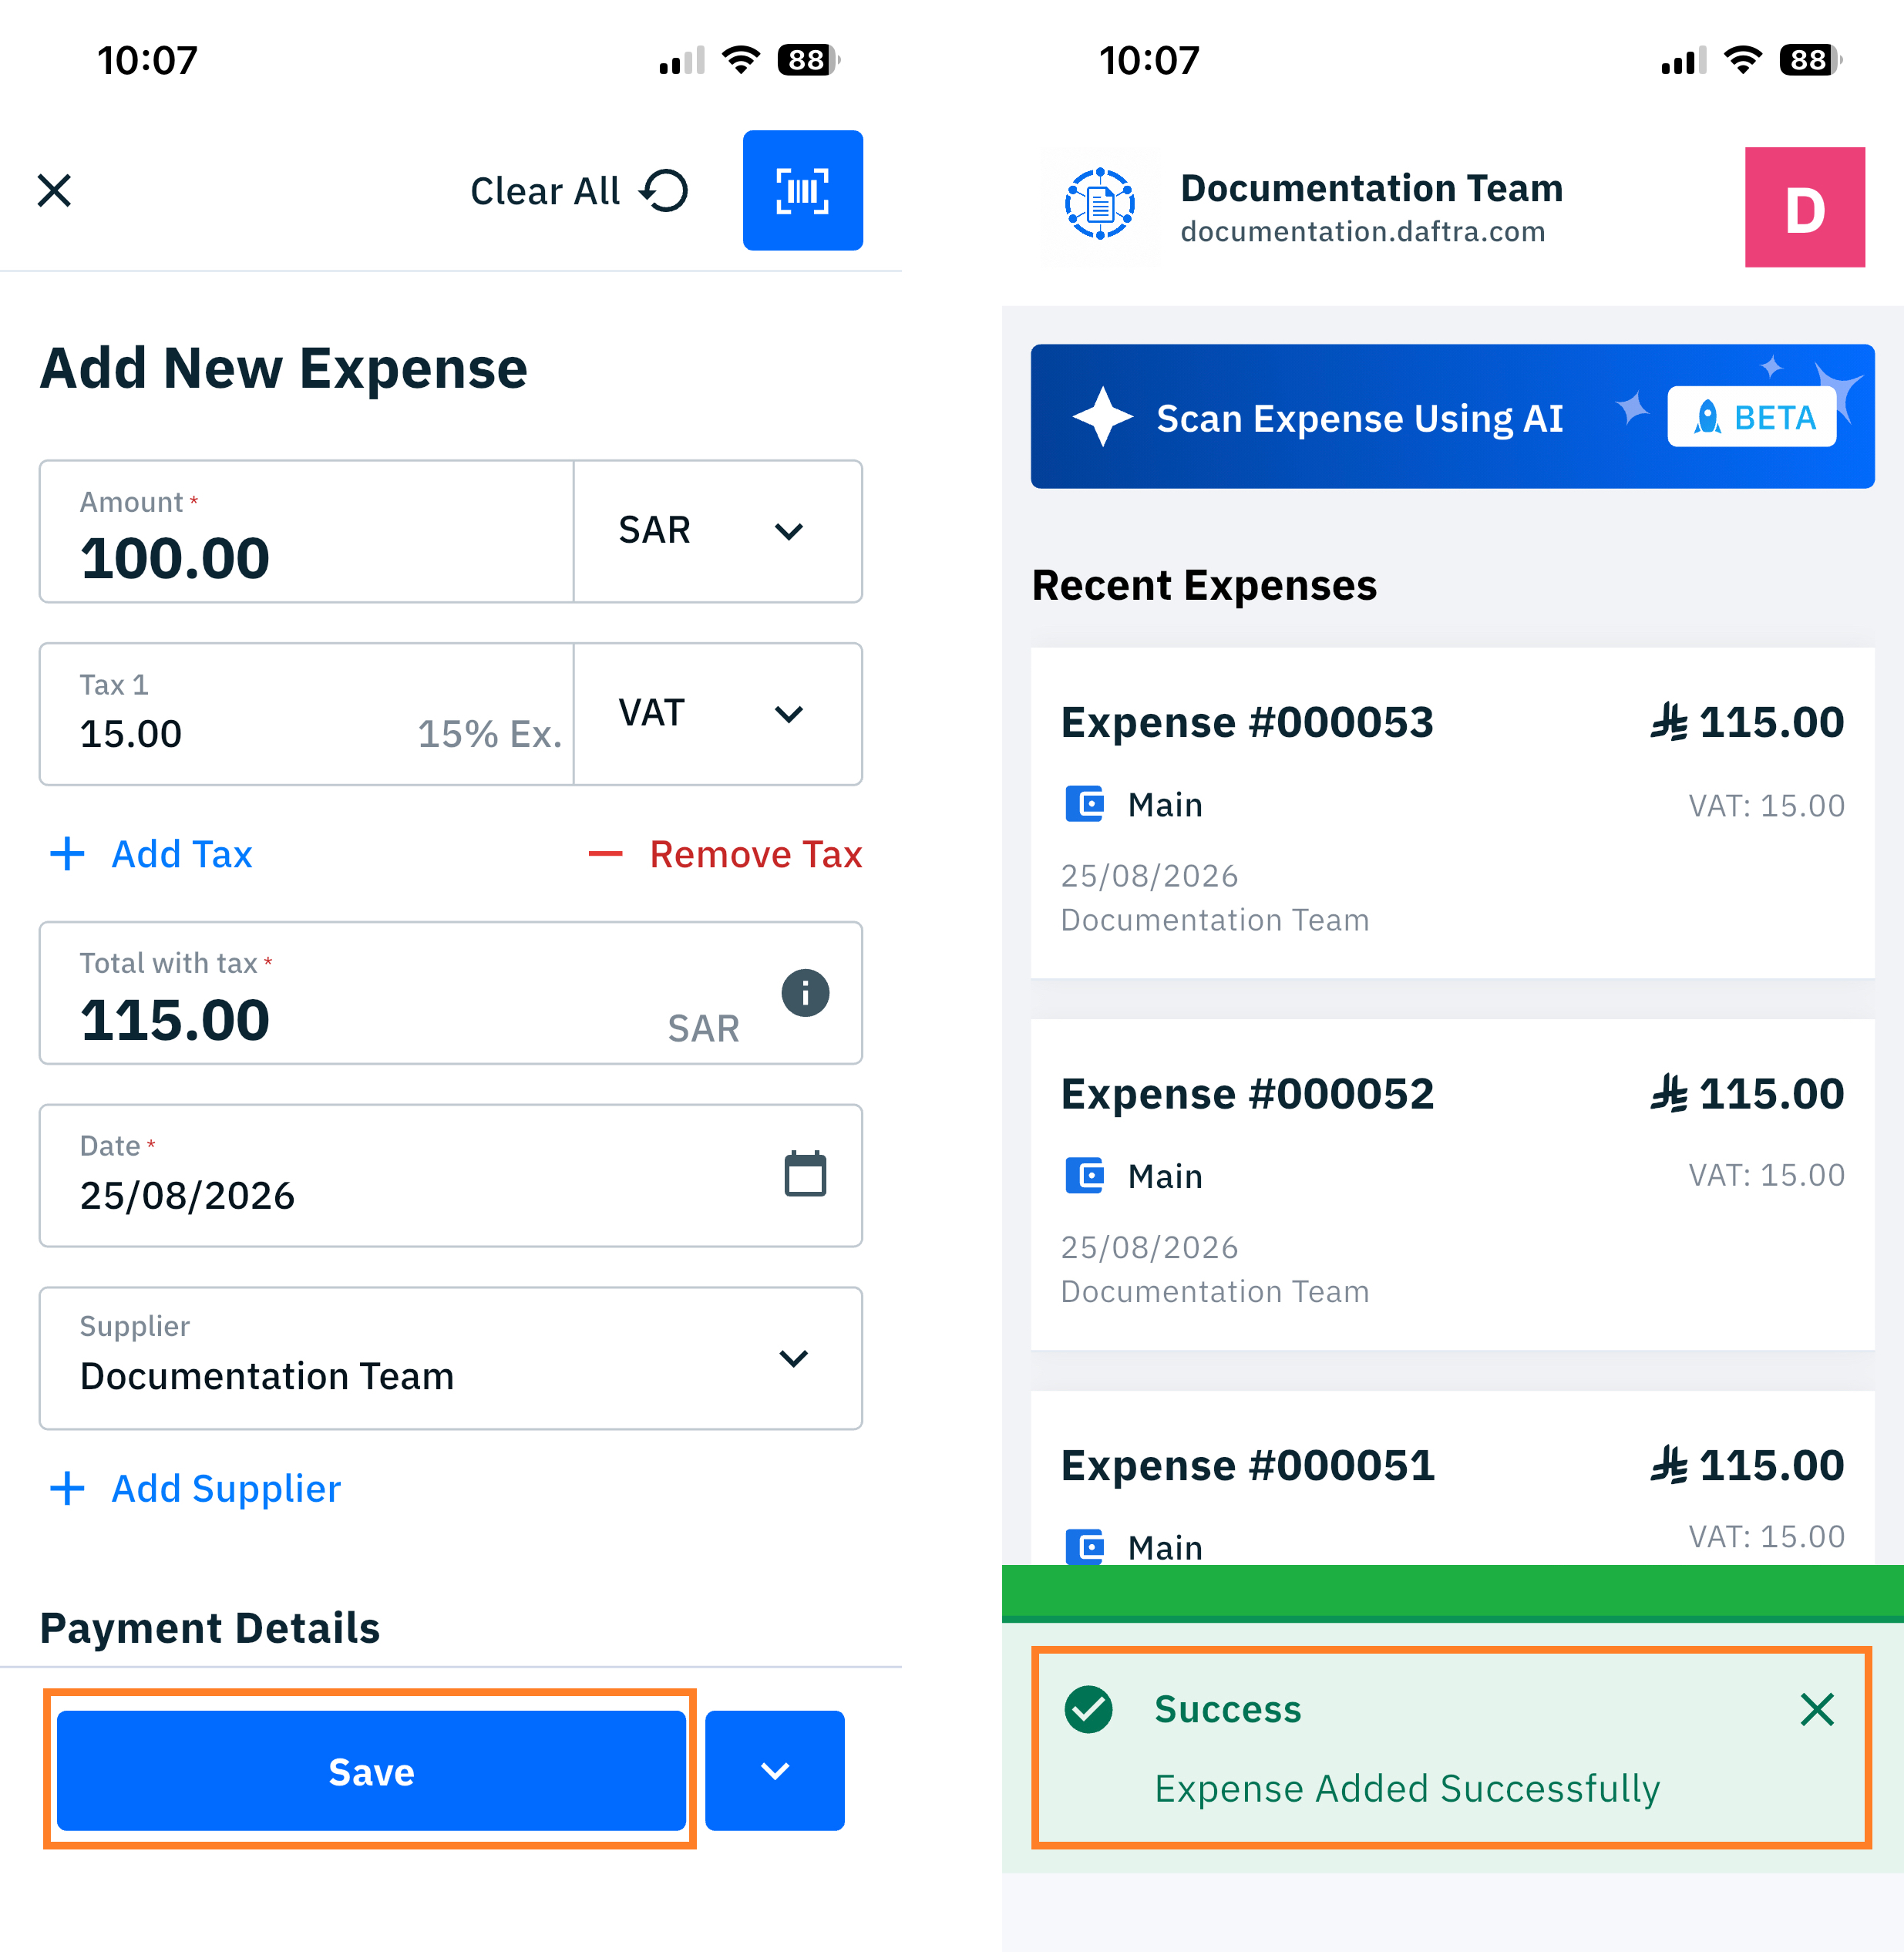
- Once extraction succeeds, the “Add Expense” screen opens with the supported fields filled in automatically.
- Review the extracted data and edit it if needed, then tap “Save“.
Data Automatically Extracted by the System
- Amount: automatically filled with the value extracted from the QR code, and remains editable.
- Tax 1: automatically filled with its type, rate, and calculated amount, if this data is available on the scanned invoice.
- Total with Tax: automatically updated based on the extracted amount and tax.
- Supplier: automatically filled only if a matching supplier is found using the C.R / unified number extracted from the QR code; otherwise, it remains empty.
Automatic Supplier Detection
After extracting the supplier’s C.R (Commercial Registration number) from the QR code:
- The system searches for an existing supplier using the C.R / unified number (as it is unique).
- If a matching supplier is found: the Supplier field is automatically filled with the matched supplier.
- If no matching supplier is found:
- The Supplier field remains empty.
- The extracted supplier name is not automatically created or selected.
- The user can manually select a supplier if needed.
Handling the Supplier When No Match Is Found
When an expense is created by scanning the invoice via QR, the system extracts the supplier’s information (supplier name and tax number), and checks whether the supplier already exists in the system using:
- Supplier Name.
- Tax Number.
If no matching supplier is found:
- The supplier is treated as a new supplier.
- The system automatically opens a supplier spreadsheet, pre-filled with the data extracted from the QR code.
- The user can edit the supplier name, the tax number, or any additional supplier details.
- The supplier is not saved automatically; the user must explicitly tap “Save“.
- After saving: the supplier sheet closes, the user returns to the expense screen, and the expense remains unsaved until the user tap “Save“.
Note displayed at the top of the supplier spreadsheet:
This supplier was extracted from the scanned invoice. Please review the details before saving.
System Behavior on Save
- The expense is created using the data extracted via QR scan, along with any manual edits made by the user.
- The new expense appears in the Expenses List immediately after saving, along with a confirmation message: “Expense added successfully.”
Validation Rule
- The Amount and Date must be available — whether through automatic extraction or manual edit — before the “Save” button is enabled.
- When an invoice is scanned via QR and no matching supplier is found, the new supplier is only saved once the user explicitly taps “Save” within the supplier spreadsheet.