






Guide to Manually Adding an Expense from the App
The Quick Expense Scanner app allows you to manually record a new expense with all its financial details, payment details, and category, with the option to scan an invoice using a QR code to automatically extract the amount instead of entering it manually. This article explains how to manually record an expense from the app.
Steps to Manually Add an Expense from the App
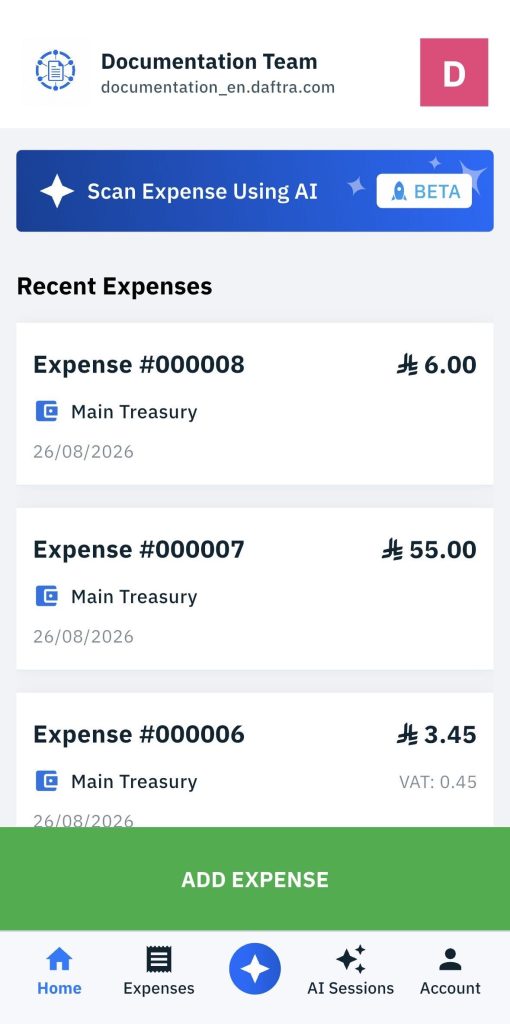
Step 1: Access the Add New Expense Screen
From the Quick Expense Scanner app home screen, tap Add Expense. You can also access the same screen from the Expenses list by tapping the (+) Add button.
Step 2: Enter the Basic Expense Details
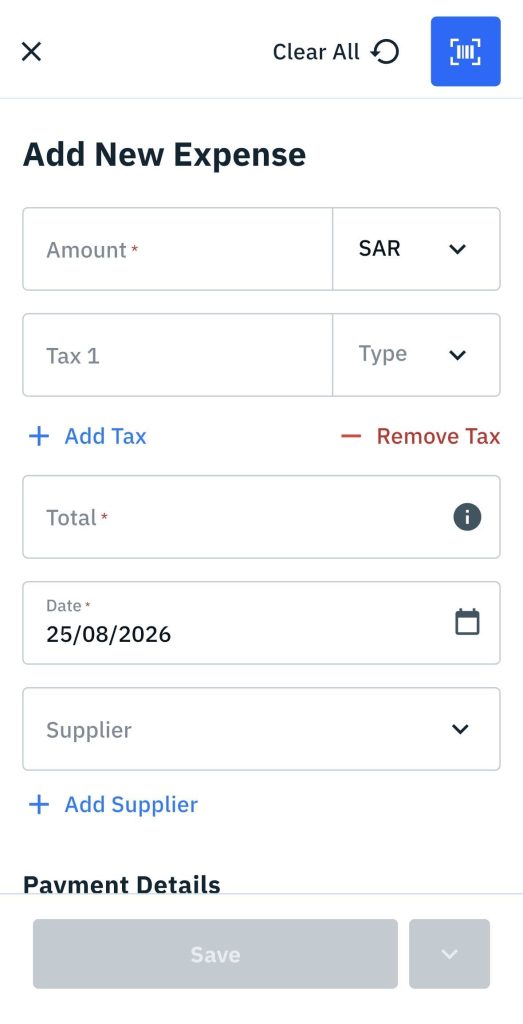
The screen displays the following fields:
- Amount (required), Enter the amount, and select the currency, such as SAR.
- Tax 1, Enter the tax amount, and select its type. You can add another tax by tapping Add Tax, or remove it by tapping Remove Tax.
- Total: Automatically calculated based on the amount and tax type.
- Date (required).
- Supplier, Select a supplier from the list, or tap Add Supplier to add a new supplier.
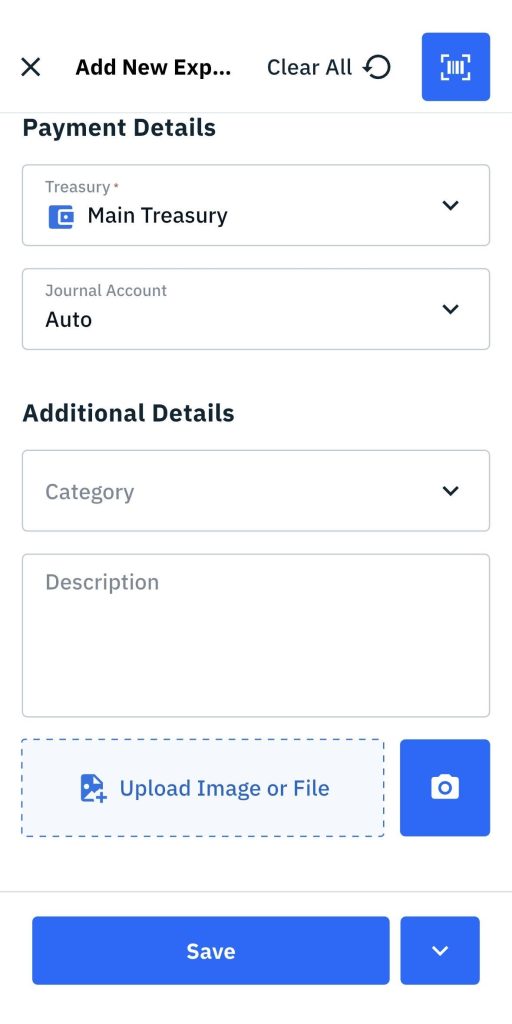
Step 3: Enter Payment and Additional Details
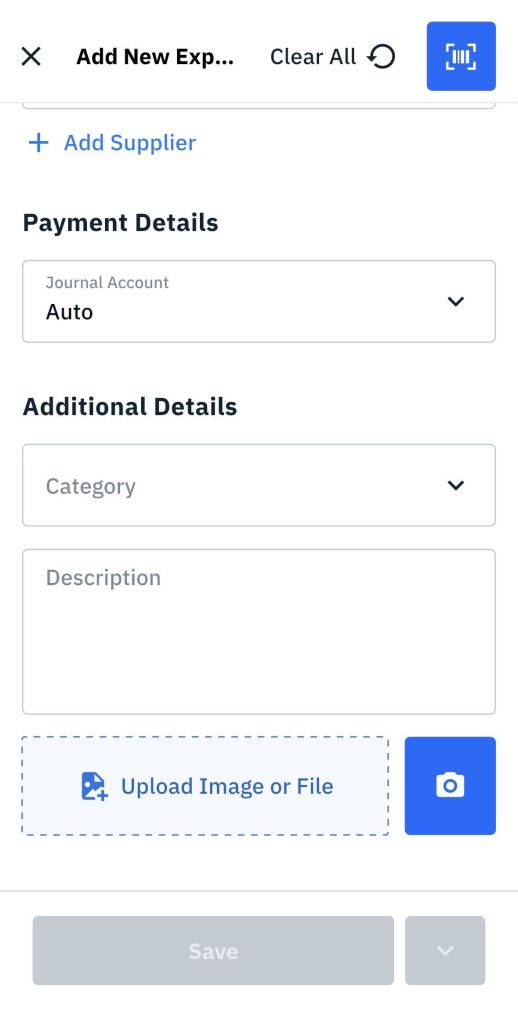
Below the basic expense details, you will find:
- Treasury (required).
- Journal Account, The default value is Automatic, and you can select another account.
- Category, Select the expense category.
- Description, Enter additional notes, if needed.
Step 4: Attach the Invoice or Documents
Tap the camera icon to take a photo directly, or tap Upload Image or File to upload an invoice image or a document from your device. Attached files are displayed with their names and sizes, and you can remove any attachment.
Step 5: Save the Expense
Review the entered details, then tap Save, or tap the small arrow next to it to select an additional saving option.
After saving, the new expense appears immediately in the Expenses list and on the app’s main dashboard (Home).