


Quick Expenses Scanner App for Mobile
The Quick Expense Scanned App is a mobile app linked to the Daftra expense program, enabling you to quickly record expenses manually or by uploading the purchase invoice, scanning the barcode embedded in it, and automatically extracting the data.
This is beneficial for regulating and managing accounting and financial operations.
To download the Quick Expense Scanner app
The employee goes to the online store to download:
Or go directly to the app through the link, and click on “Install” to download the program.
Allowing Permission of Quick Expenses Scanning to a User
Not all employees are allowed to record expenses through the Quick Expenses Scanner app, but only some users can do so.
We clarify this in steps:
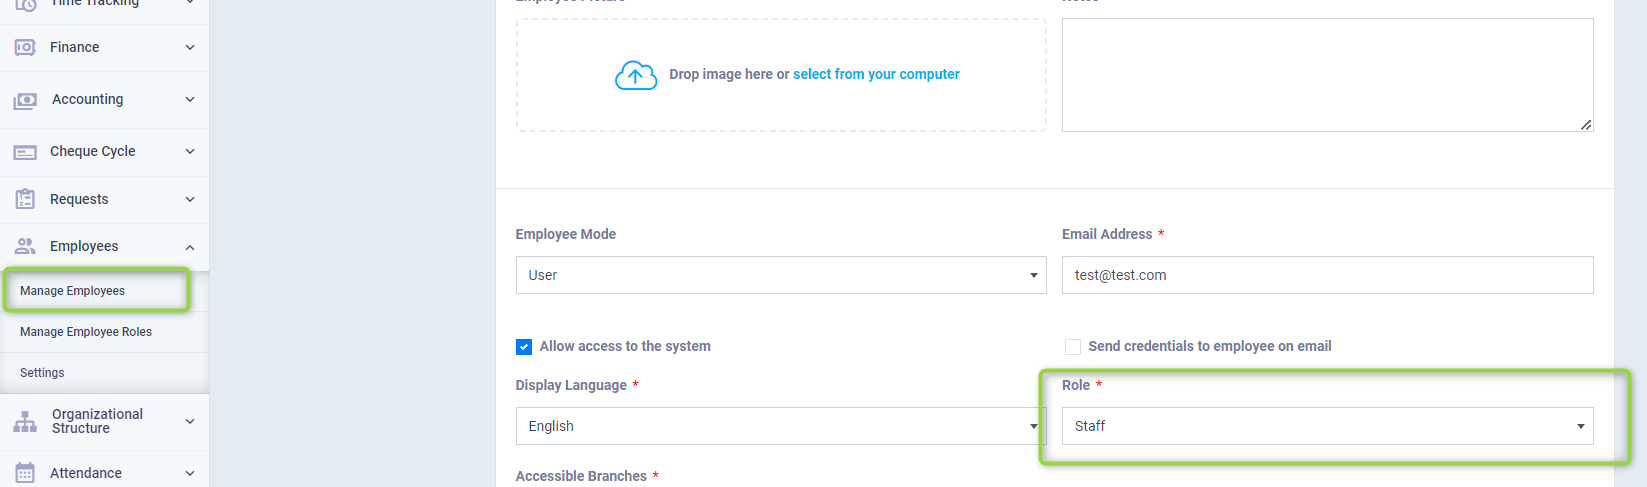
Click on “Manage Employee Roles” dropdown under Employees in the main menu, and click on “Edit” to enable the permission to add expenses for users of this employee role.
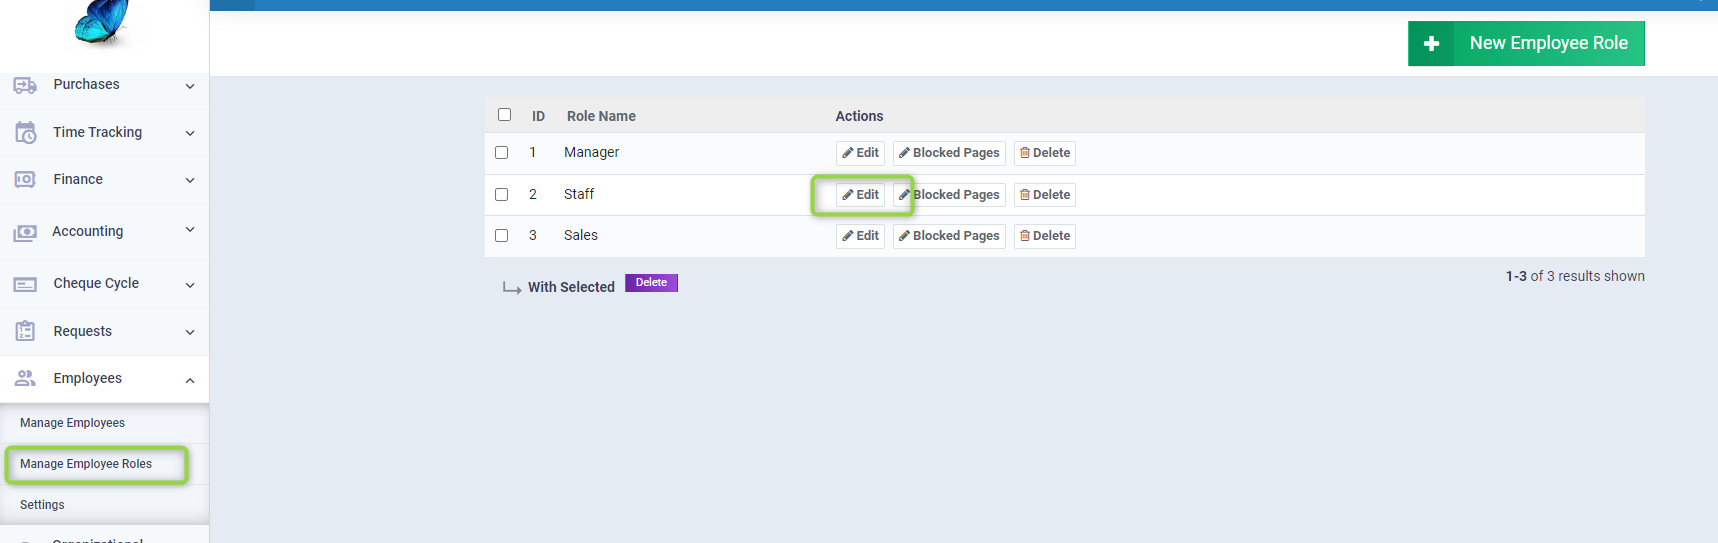
Activate the “Add Expense” permission.

Click on “Manage Employees” dropdown under “Employees” in the main menu, select the user profile for whom you want to enable self-adding permission, assign the job role for which we have already enabled this permission, and click “Save”.
Adding an Expense through the Quick Expenses Scanner App
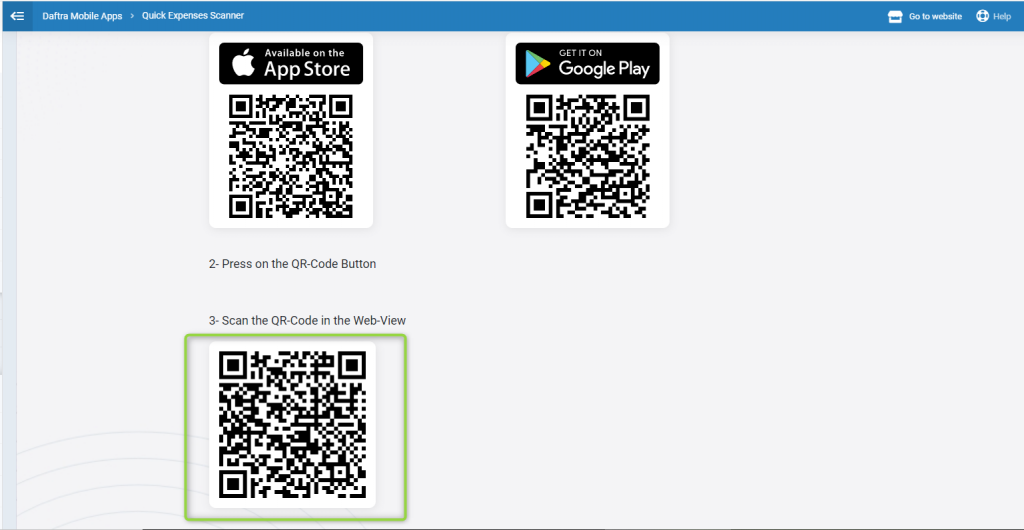
After granting the employee the permission to add expenses and downloading the Quick Expense Scanner app, they can log into the app using their email and password.
Or by scanning the barcode by clicking on “Daftra Mobile Apps” located in the main actions menu then selecting “Quick Expense Scanner”.
After logging into the app, follow the steps below to manually record a new expense:
Click the “Add New Expense” button
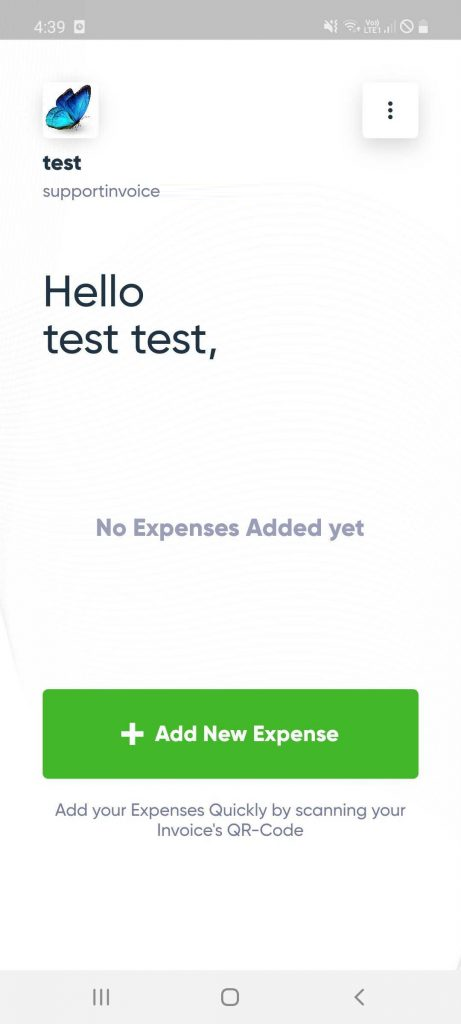
And fill out the following data manually:
- Amount: Enter the expense amount and currency.
- Date: Select the date of the expense record.
- Supplier Name: Type the name of the vendor.
- C.R: Type the supplier’s commercial register number.
- Tax ID: Type the supplier’s tax ID number.
- Tax Type: Select the tax type, such as: Value Added Tax.
- Tax Amount: Enter the tax amount.
- Description: Type any notes related to this expense.
- Then click the “Save” button.
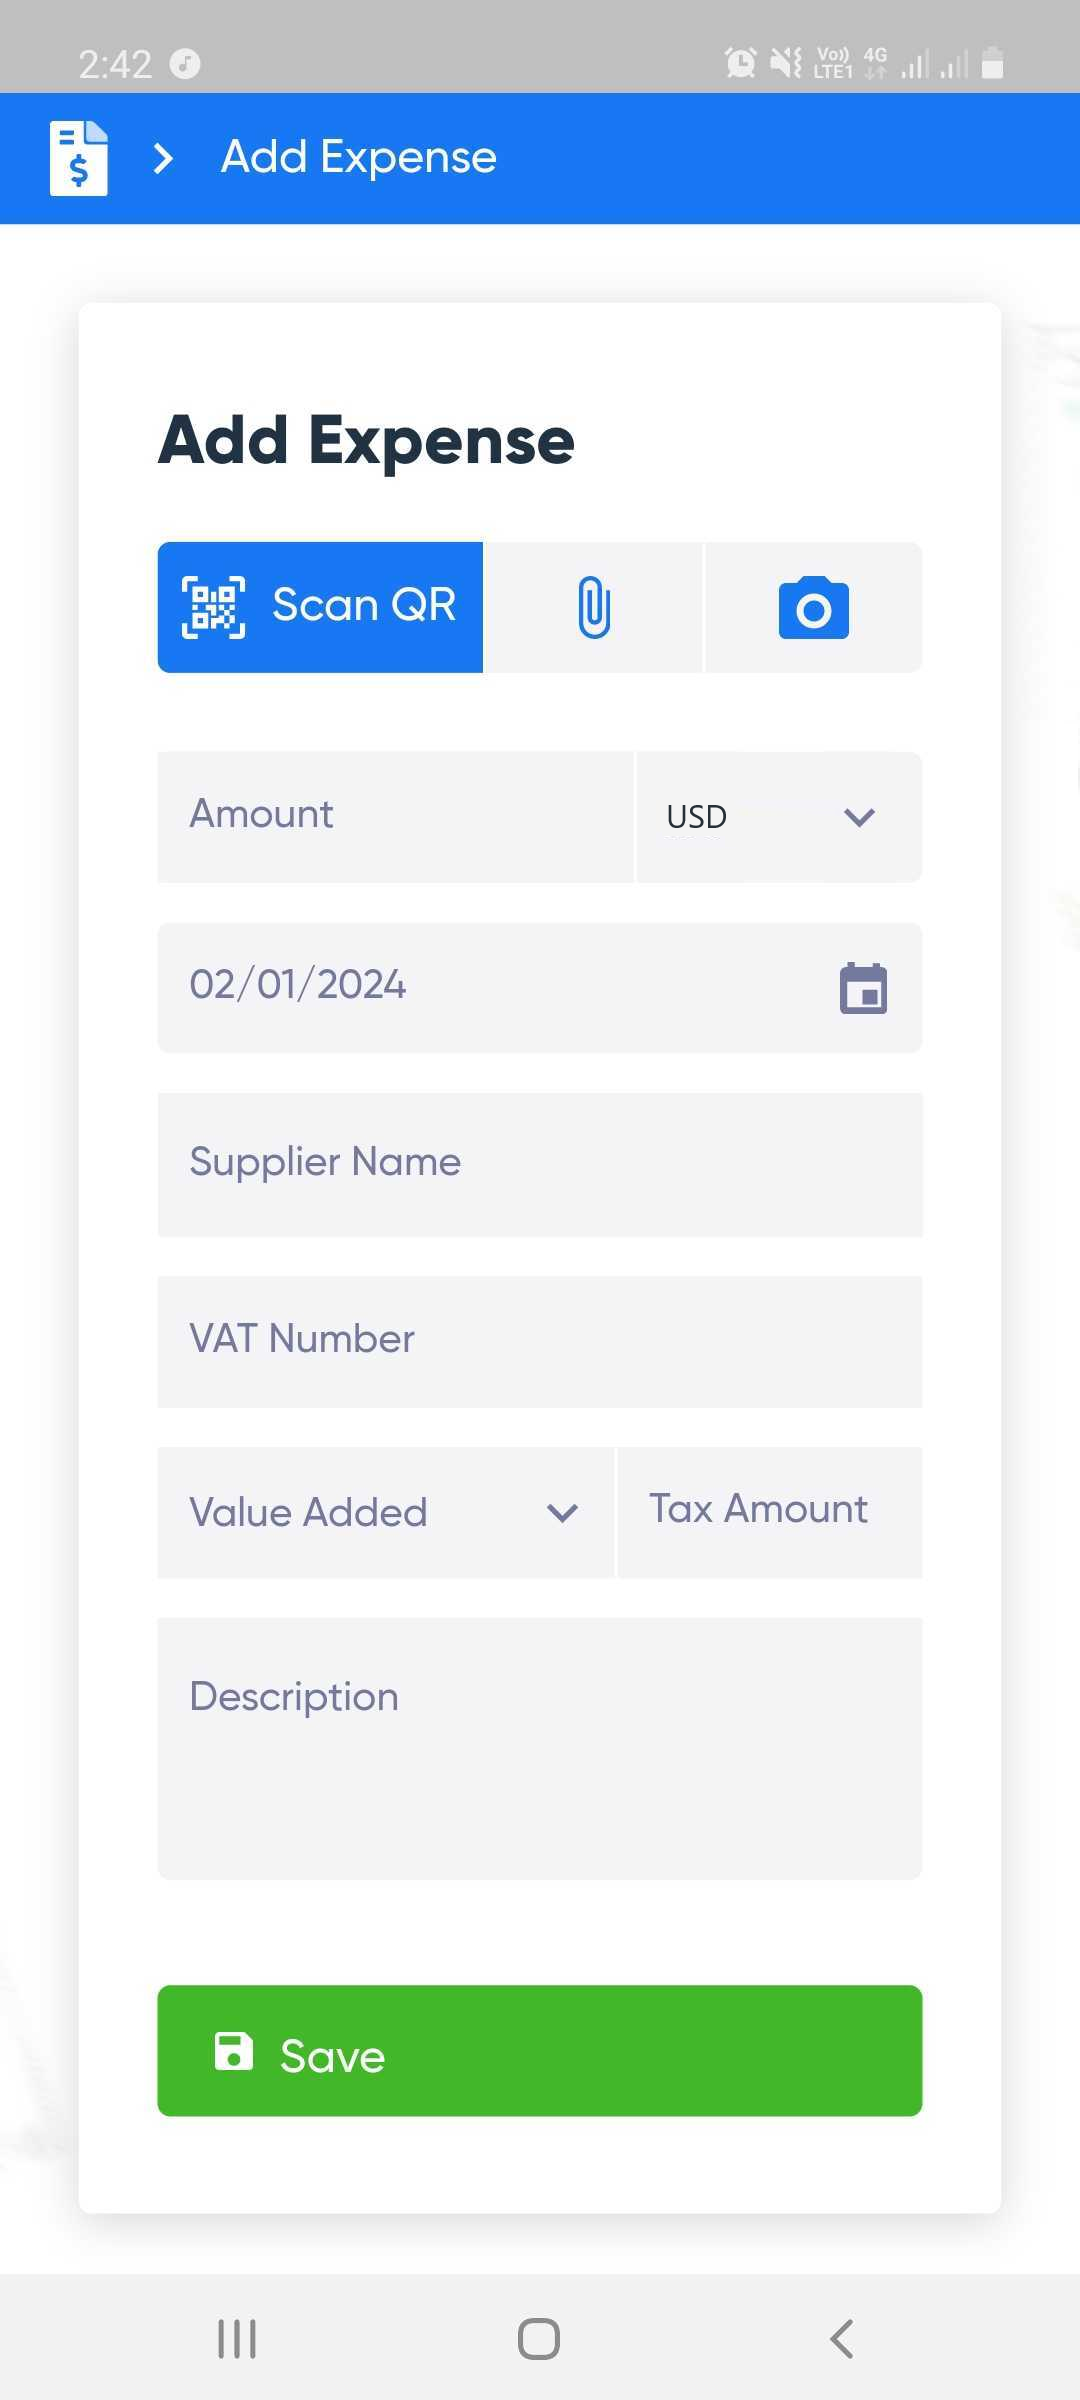
Or add the expense automatically
- By taking a picture of it by clicking on the camera icon ?
- Or by uploading the expense file by clicking on the attachment icon ?
Then click the “Save” button, and the expense data will be filled and recorded automatically, and you can find all expenses added from the app on its main screen.

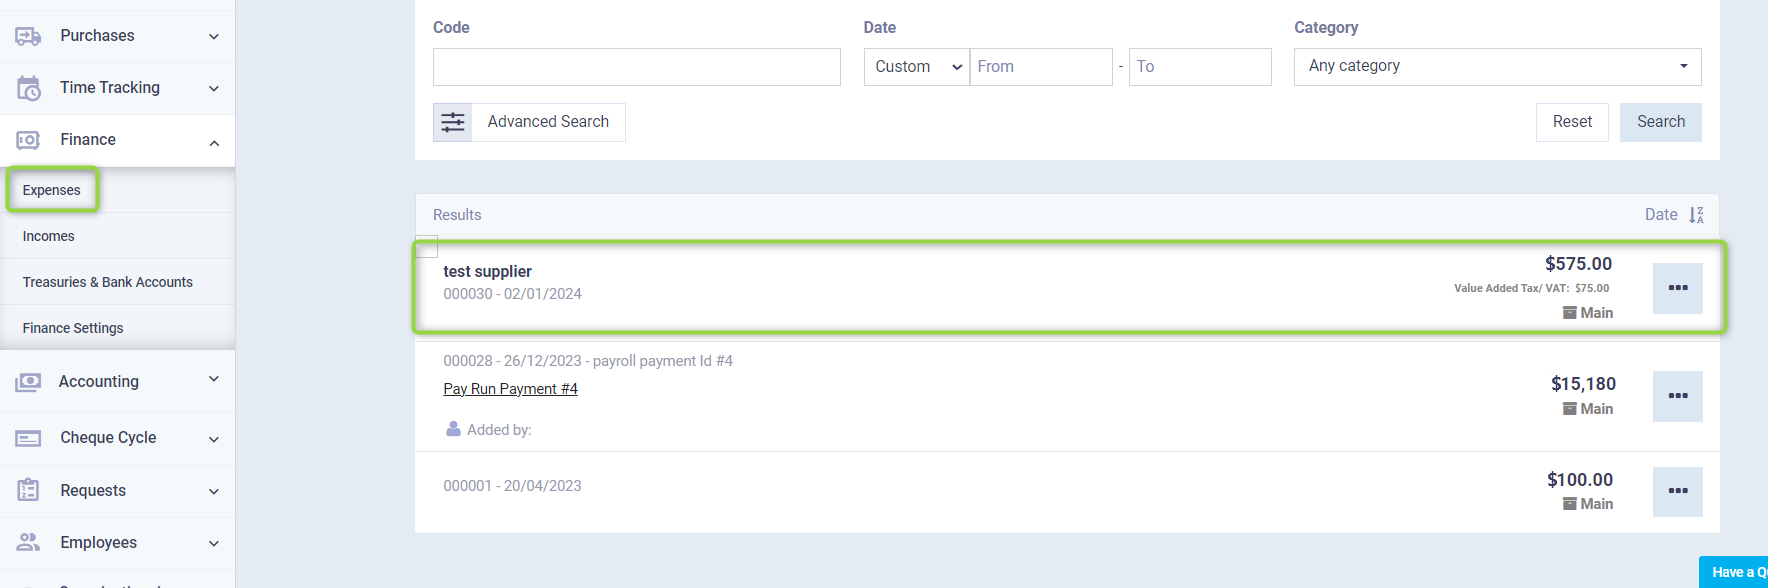
Note: After recording the expense on the app, it automatically appears in “Expenses” dropdown under “Finance” in the main menu, and it is automatically processed accounting-wise.