


Daftra Stocktaking App
In this guide, we’ll walk you through how to use Daftra’s Stocktaking App to perform inventory counts with ease and accuracy. Whether you’re managing stock in a small warehouse or across multiple store locations, the app offers powerful tools to help you update and organize your inventory with just a tap.
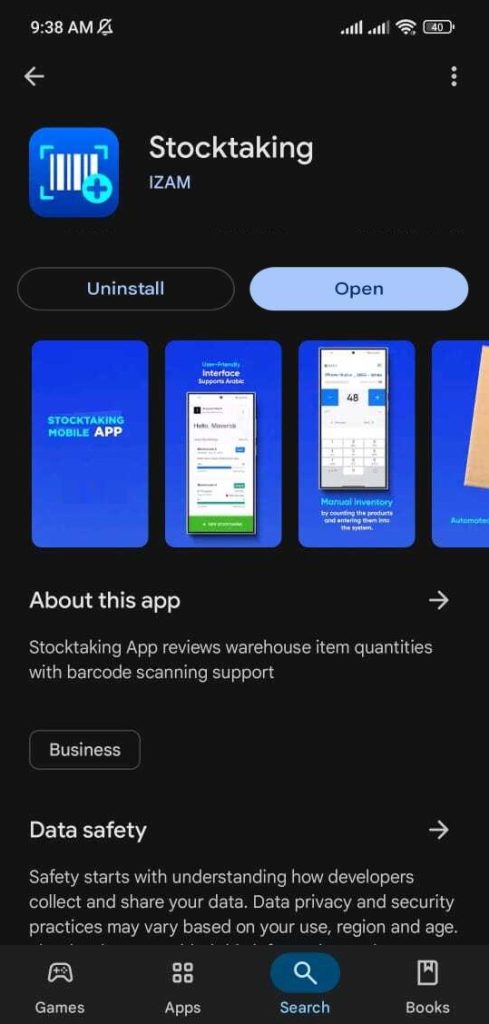
Search for “Stocktaking App – STK” on the iOS App Store or Google Play Store and download it to your device.
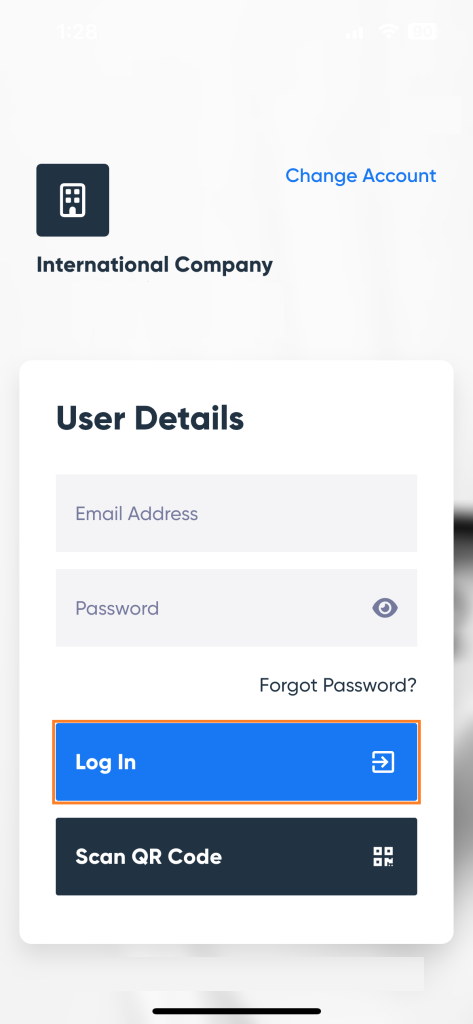
Open the app and sign in using your main account credentials.

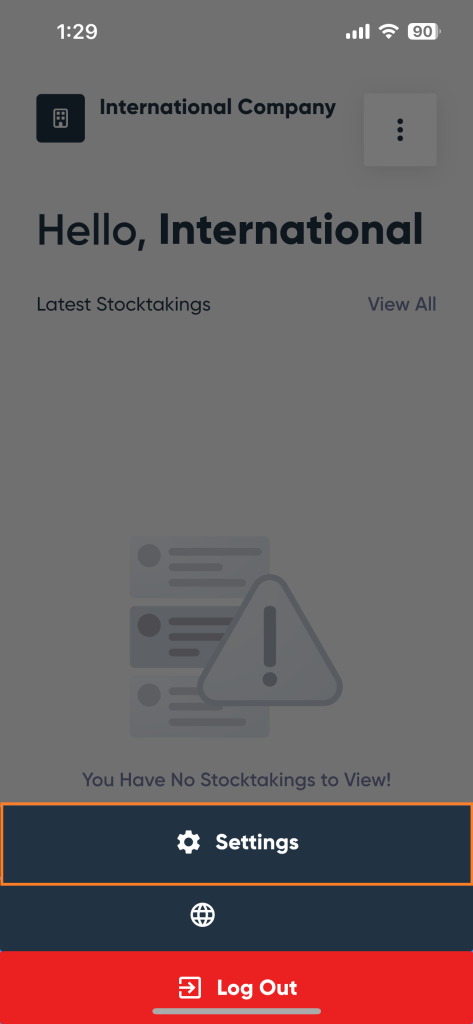

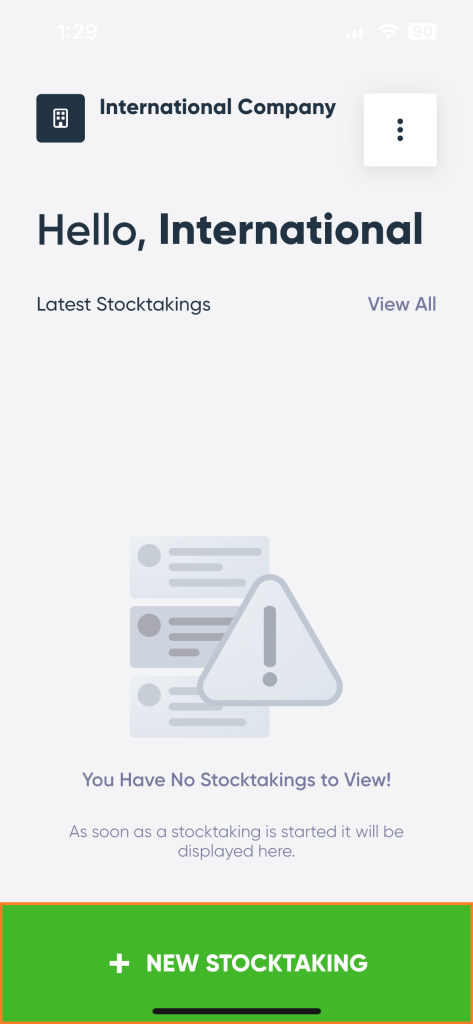
Return to the app’s home screen to begin stocktaking. Tap on “New Stocktaking” to start a new session.
Select the warehouse, set the date and time of the stocktake, and choose whether to import all products or only those with previous transactions. Then tap “Next”.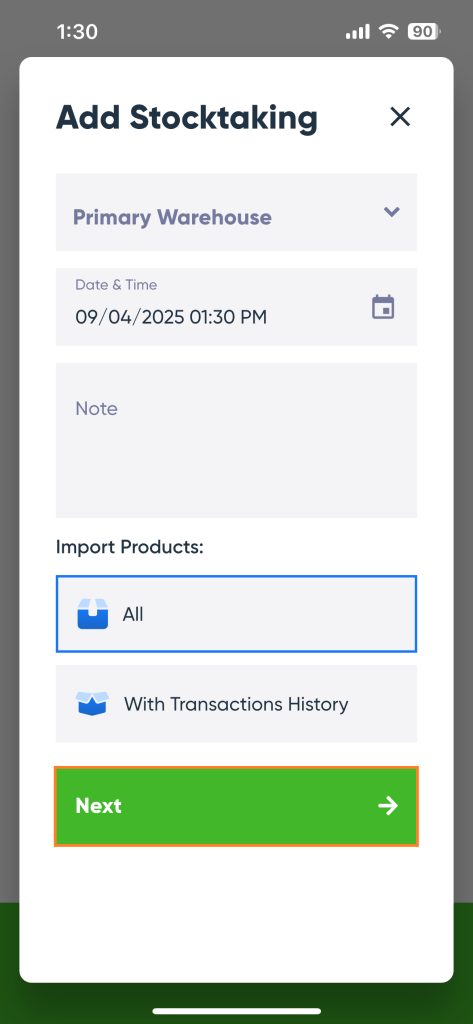
Your new stocktaking session is now created.
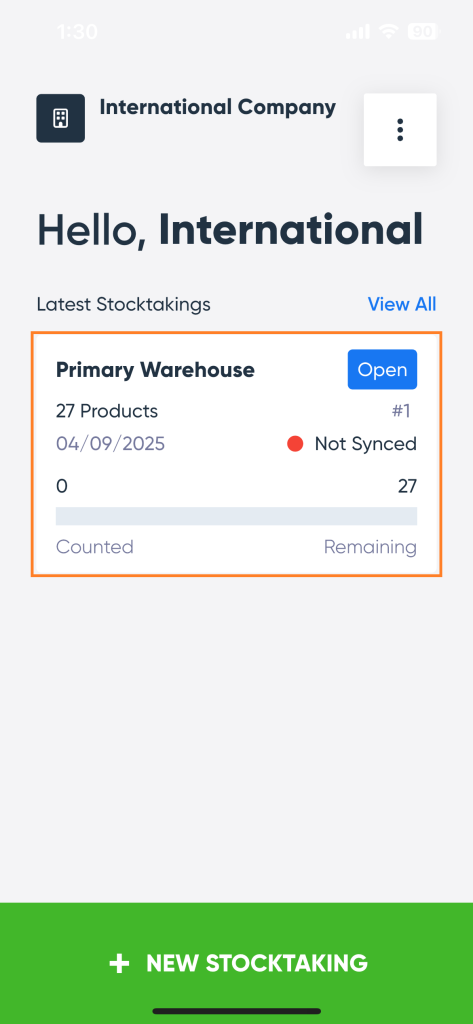
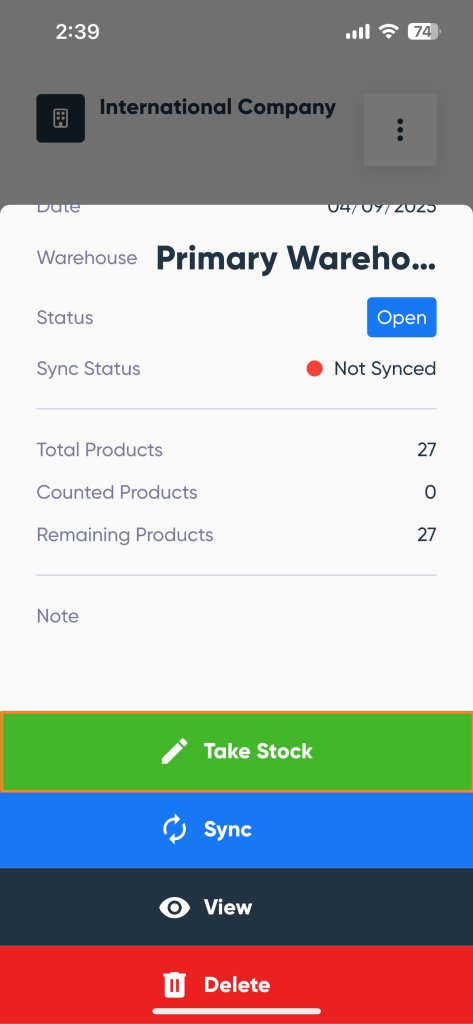
Tap on the created stocktaking record, then click “Take Stock”.
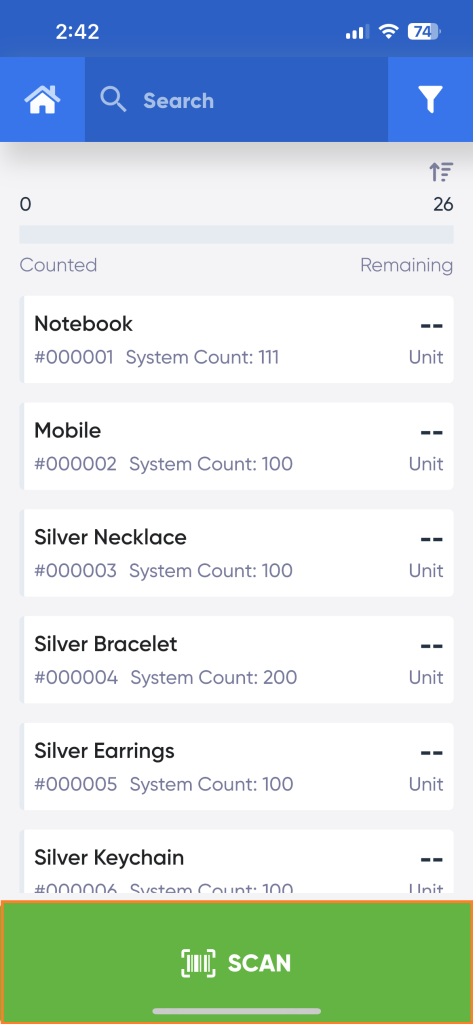
Choose a product from the displayed list to adjust its quantity based on your physical count. Alternatively, you can scan the product’s barcode using your mobile camera by tapping the “Scan” button.
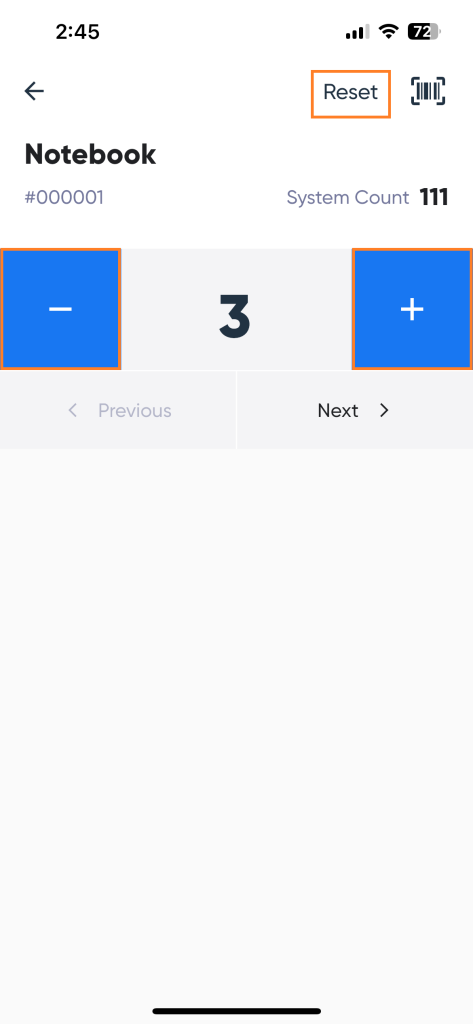
The screen will display the selected product with (+) and (–) buttons to increase or decrease the quantity as needed. You can also use the “Reset” button to instantly set the quantity back to zero. Use the “Previous” and “Next” buttons to navigate between products.
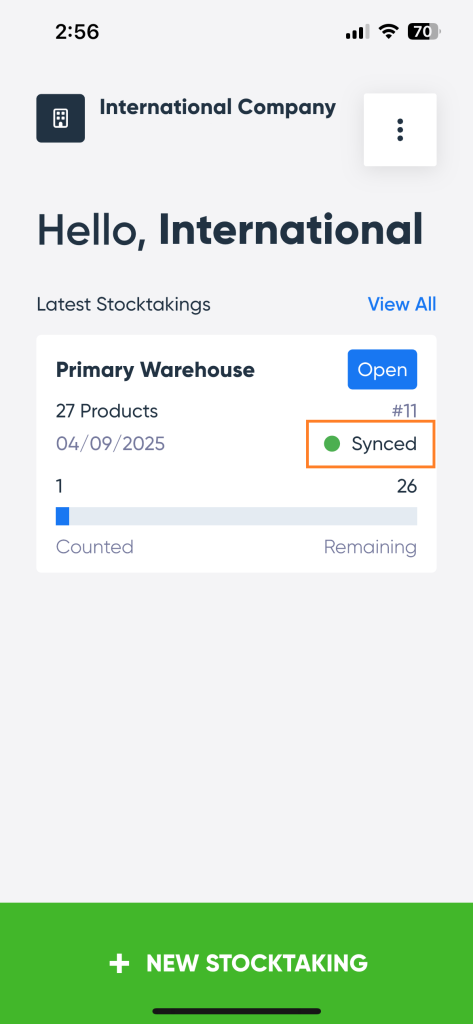
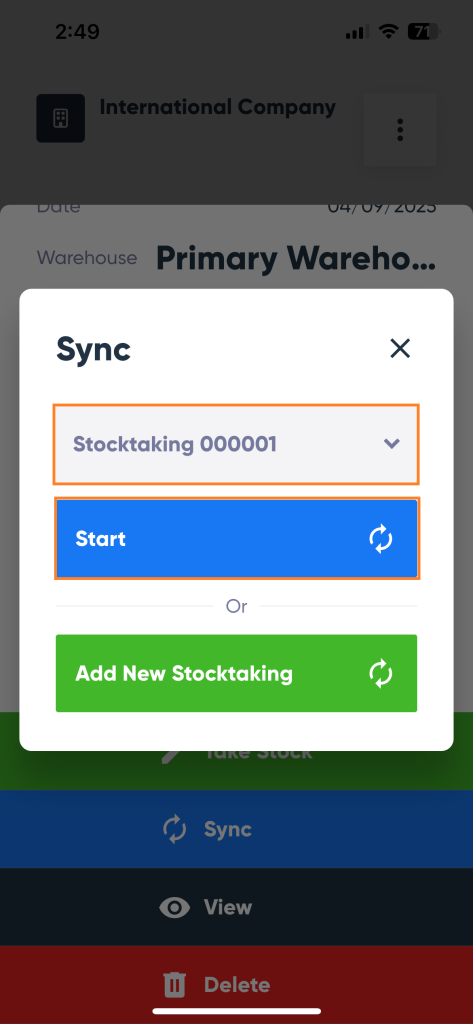
Return to the stocktaking page and tap the “Sync” button to synchronize the updated stock data with your Daftra account in real time.

From the dropdown menu, select the stocktake you wish to sync, then tap “Start” to begin syncing the data directly to your Daftra system.
Once complete, you’ll see confirmation that the sync was successful.