


Cases
Daftra provides a work order tailored for cases, providing a consolidated form that gathers all relevant info linked to a case seamlessly. This tool is quite useful in developing a clear and formal profile for each case, including all relevant details for comprehensive understanding. The user-friendly interface simplifies the process of organizing, retrieving, and maintaining case information, promoting efficiency and clarity in legal procedures.
Adding a New Case
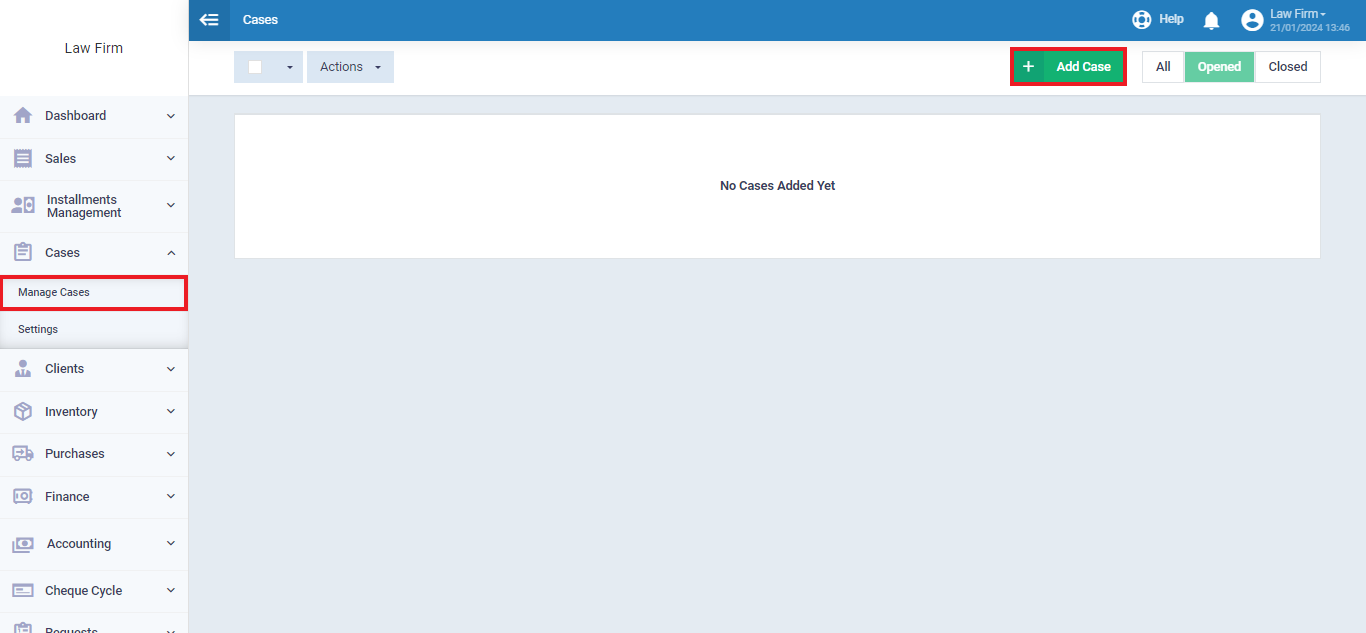
From the main menu click on “Cases“,
select “Manage Cases“,
then click on “Add Case“.
General Information
Upon selecting add case you’ll be directed to the work order to start filling in the required information. The work order is divided into various sections each requiring different info and details about the case. The first section is the “General Information”

The required info in this section is:
-
- Title: The name of the file related to the case as it will appear in the cases listed in your account.
- Order Number: A number or code that distinguishes the case. It’s automatically set in sequence, but it can be edited or the sequencing method can be changed by adjusting the “Sequential Numbering Settings“ in the account.
- Start Date: The starting date of the case.
- Finish Date: Expected end date of the case.
- Description: Provide a general description of the nature of the new case.
- Tags: Enter keywords about the case to assist in searching within the software.
- Client: Choose a client from the list if the case is linked to a specific client.
- Budget: Determine the value of the case’s budget indicator.
- Note: The budget indicator in the work order operates based on either the expenses and costs of the work order or the invoices of the clients within the work order. For more details, you can refer to the guide “Setting up the Budget Account in Work Order”.
Court & Case Info
Each section of these holds distinct significance. Court Info is vital for establishing the legal landscape, offering crucial details about the court’s identity, location, jurisdiction, and other relevant information. Case Info, on the other hand, is vital for effective case management since it contains critical information such as the case number, type, and overseeing judge. This provides a concise summary of the relevant legal issue at hand.

The required info in the “Court Info” section:
- Court Name: Add the court’s name
- Court Address: Full Street Address, City, State, ZIP Code
- Court Jurisdiction: Specify the types of cases the court handles
- Judicial Department No.: Provide the judicial department number
- Judicial Department Jurisdiction: List specific geographic areas or legal matters covered by the department
The required info in the “Case Info” section:
- Case Number: Add unique case number
- Case Type: Specify the nature or category of the case
- Competent Judge: Provide the name or title of the judge responsible for the case
Defendant's Info
This section provides info to gain insights into key details, including personal and contact information, legal history, and any additional notes or details relevant to the individual involved in the case.
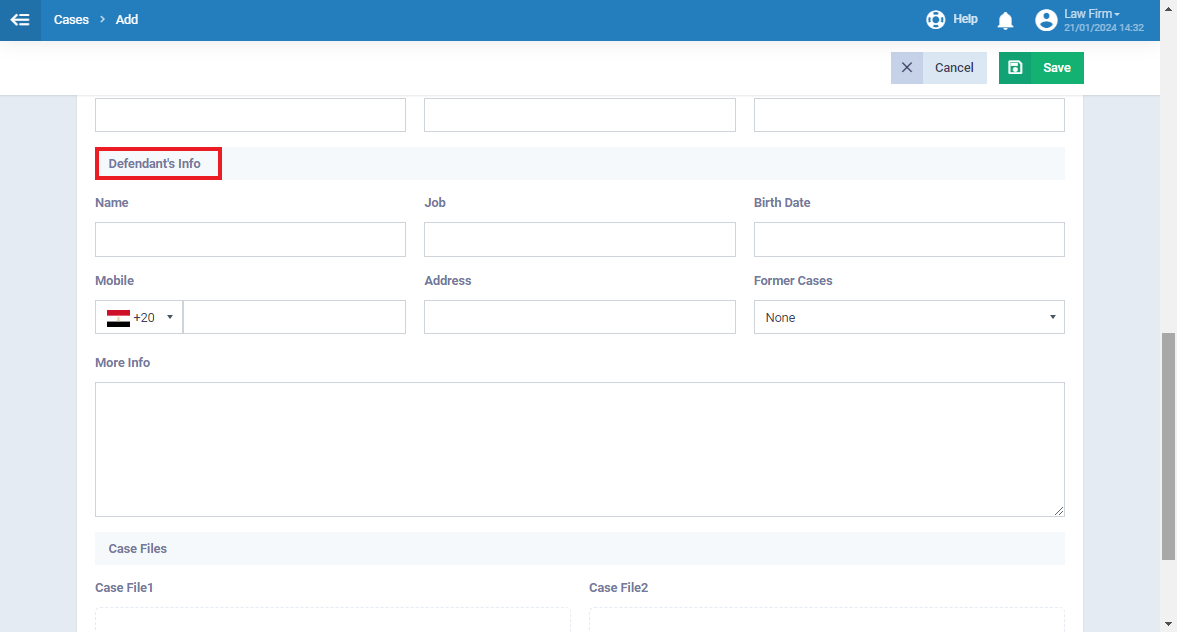
Defendant’s info:
- Name: defendant’s full name
- Job: Occupation or position
- Birth Date: Date of birth
- Mobile: Contact number
- Address: Current residential address
- Former Cases: Choose from the list if there are any previous cases
- More Info: Additional information or notes, if applicable
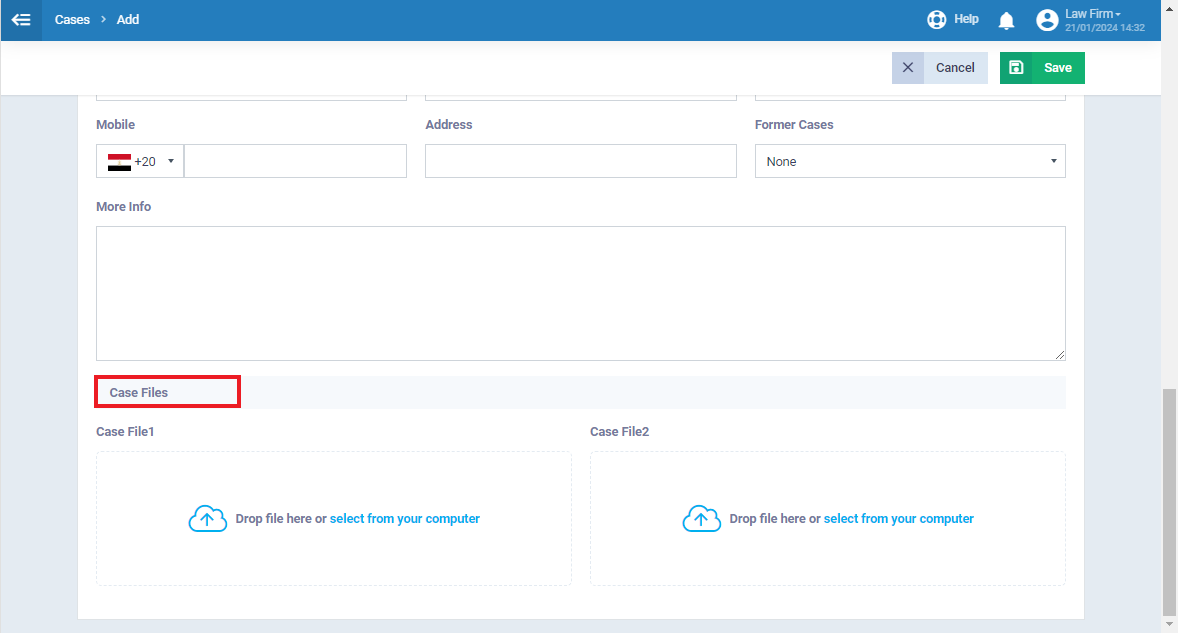
Case Files
The final section conveniently allows you to attach or upload various documents pertinent to the case, including images, statements, and records, streamlining the process of presenting comprehensive evidence.
After completing this process, you will get a detailed and complete form or profile that has been meticulously prepared for every particular case.
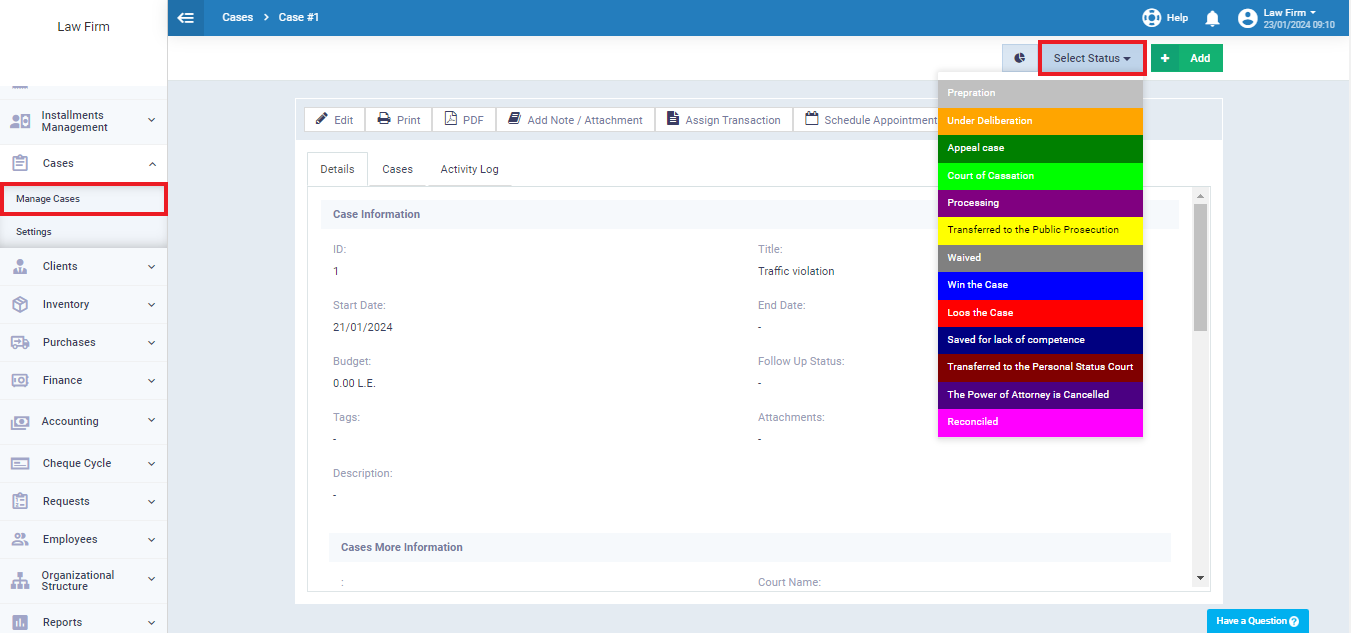
Edit Case Status
After saving the case you can add or edit the status of it and specify whether the case is under deliberation, processing, or reconciled, or you can add any status you need.
Click on “Manage Cases“, then select the desired case.
On the top right of the page click on “Select Status” and choose the required status.
To edit the status list click on “Settings” from the dropdown menu of “Cases“,
then click on the card “Workflow types” and then choose “Cases“.
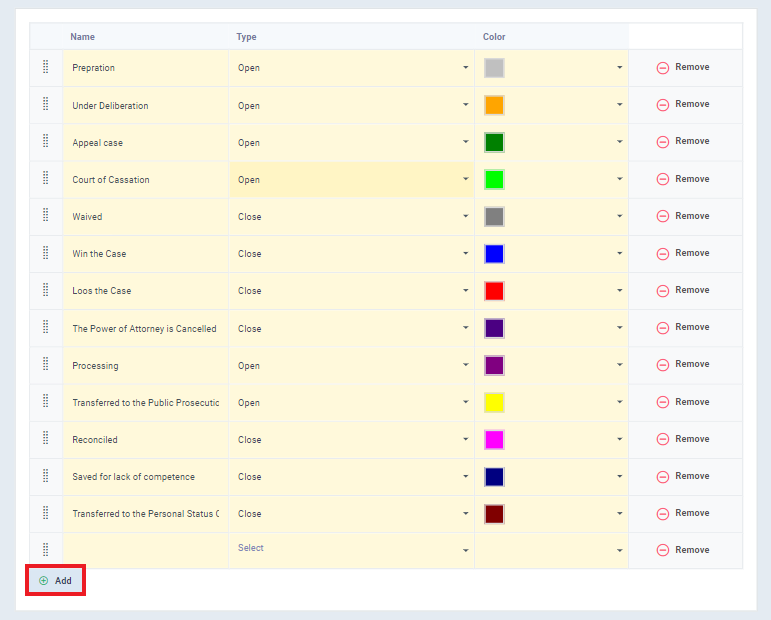
You’ll then be directed to the following page click on “Manage Statuses”
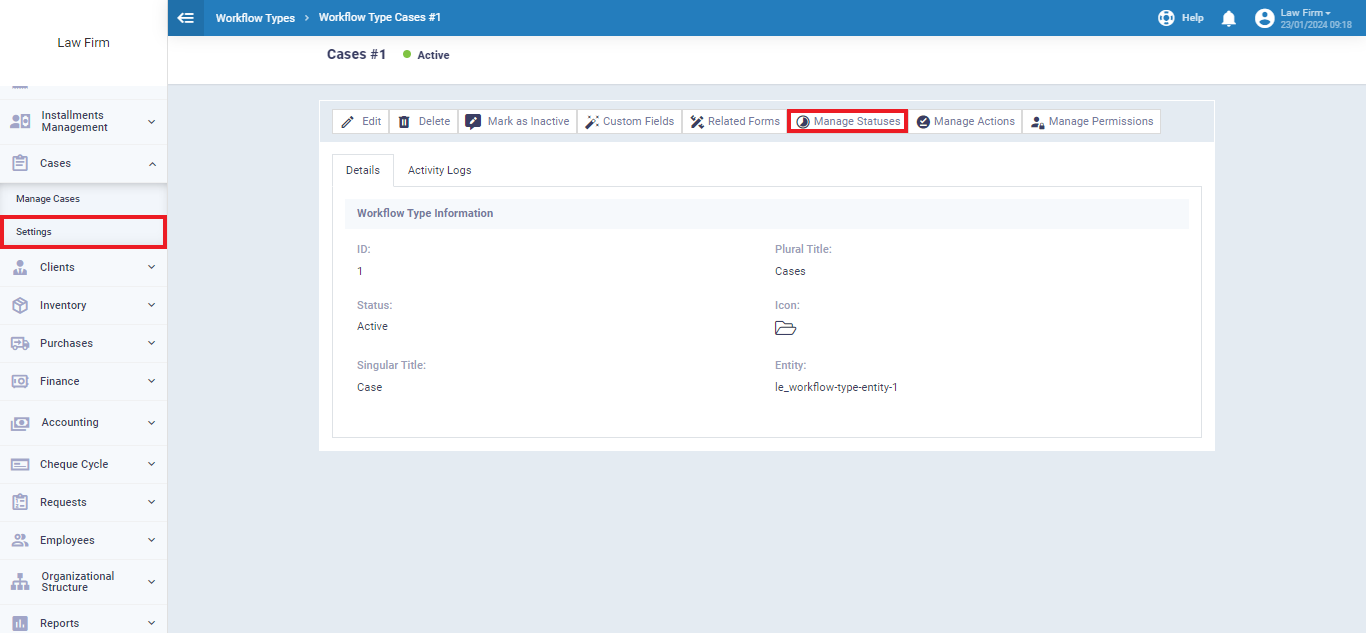
Through this page, you can change the status name, color, type, or remove the status.
From the bottom of the page, click “+Add” to create a new status and select a name, type, and color from the columns.