Account Routing Guide
The chart of accounts in the system is pre-configured, and accounts are automatically routed to the appropriate account. For example:
- The fiscal year account is routed to “Retained Earnings.”
- The invoice account is routed to “Sales Account.”
- The checks account is routed to “Notes Payable.”
- The employee salary account is routed to “Salaries & Wages.”
However, you can control these accounts and re-route specific transactions to a new account that you add to the chart of accounts and assign the routing to it. This guide explains how to do that.
Activating the Accounting App
Accounts are routed in the system through the “Accounting settings“, so make sure to activate the “Accounting app” in your account to take this action.
To do this, refer to the Enable the Chart of Accounts App Guide.
Setting up the Necessary Settings to Route Any Desired Account
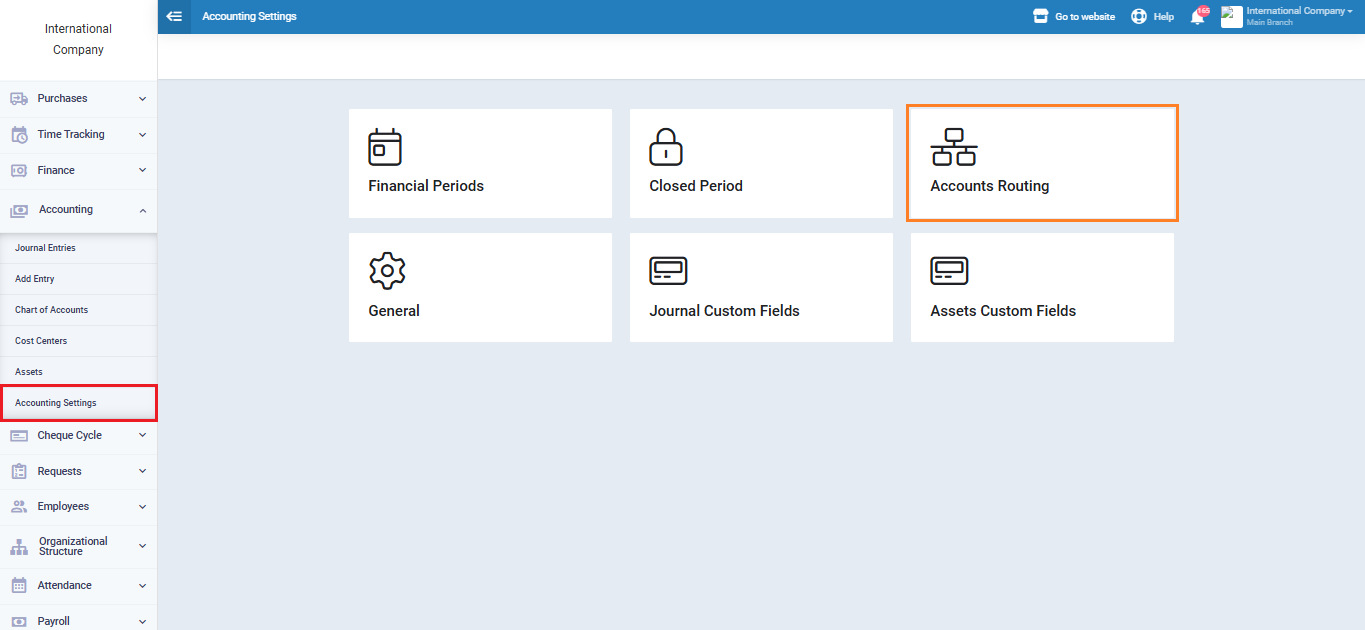
Click on “Accounting Settings” under “Accounting” in the main menu.
Then click on the “Accounts Routing” tab.

Select Transactions for Account Routing from the Side Menu
Some transactions, such as the fiscal year “Retained earnings“, only allow automatic assignment. You cannot manually route the account from within the fiscal year settings. However, you can change this default account and save the settings so that it will be routed to the new account in the future.
Some accounts allow you to choose between automatic account routing or specify per each transaction. If you choose the second option, you will be able to select the desired account to route the transaction to within the transaction itself.
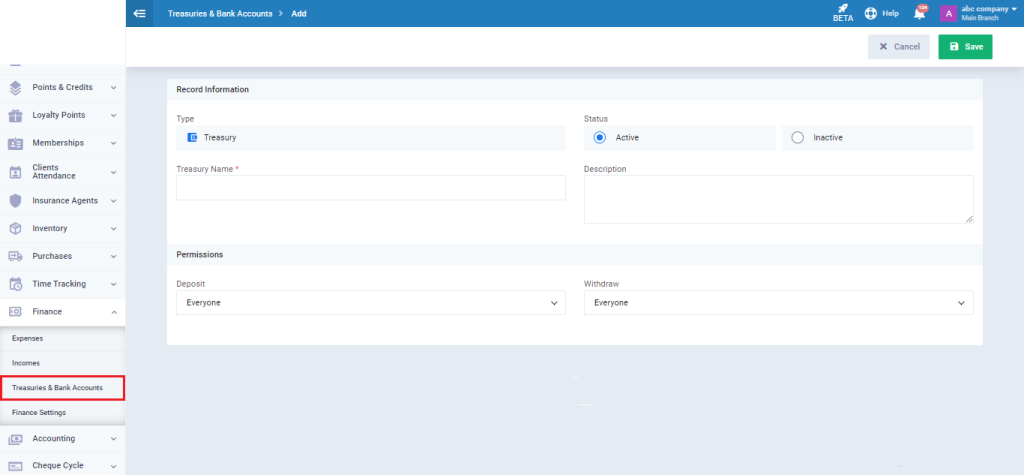
- Note that when you choose automatic account routing, you won’t see any options related to account routing when creating a treasury. All transactions will be routed by default to the automatic account or to the account you have set to replace it.

- When selecting the “Specify per each” routing type for the treasury, the option to set a default account will disappear.
When selecting the “Specify per each” routing type for the treasury, the option to set a default account will disappear.
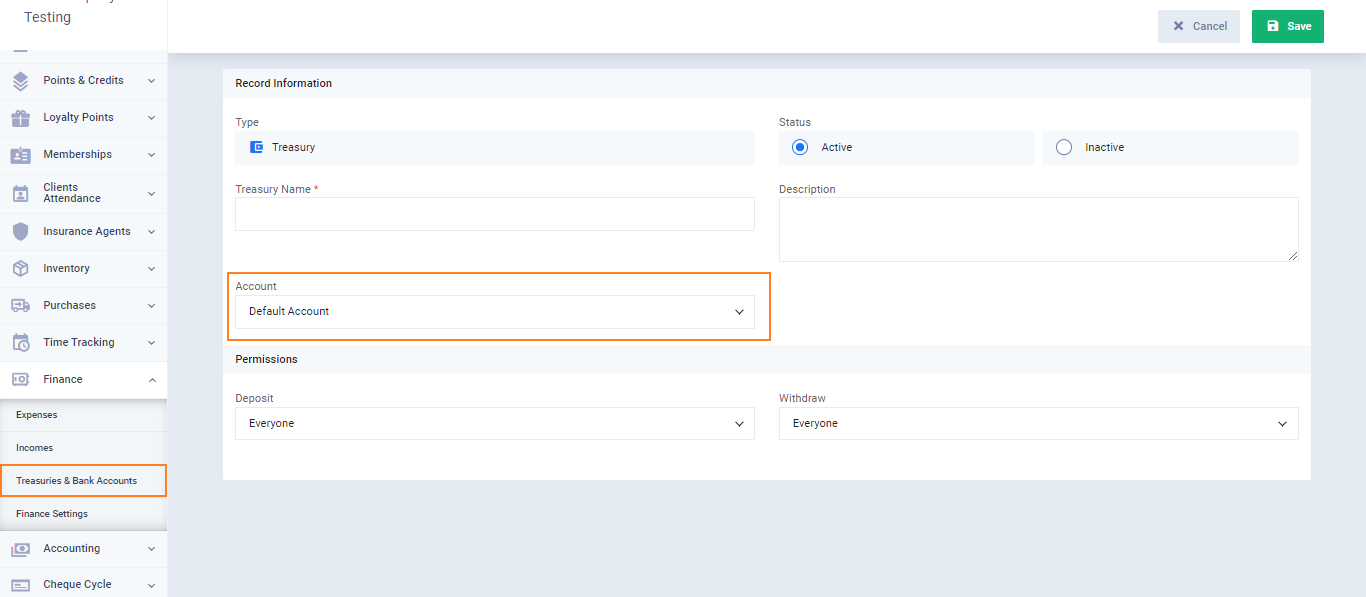
A dropdown menu will appear when creating the treasury, allowing you to select the account to which treasury transactions will be routed, with the default account being the primary option that can be changed.
-
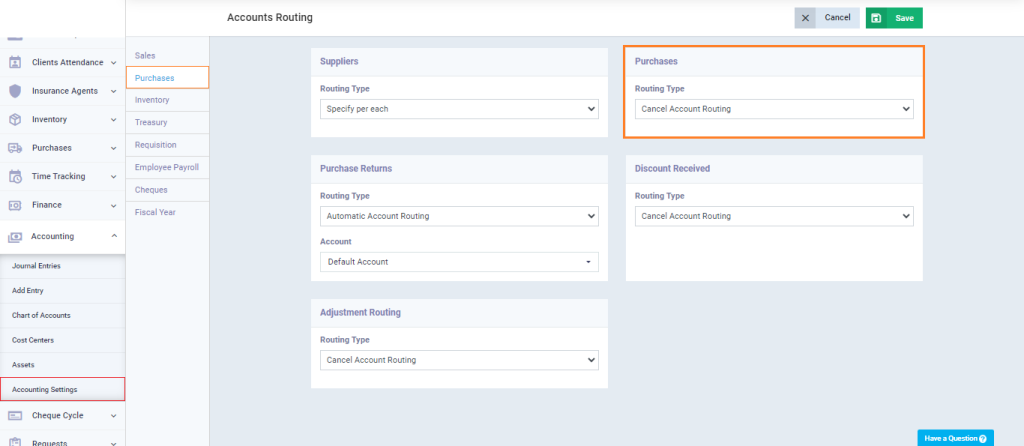
For some transactions, you can set the routing type to “Cancel Account Routing.”
In this case, no entry will be generated from the transaction, and it will not be posted in the chart of accounts.


