


Patient Admission
The clinic/hospital admission process is crucial for gaining a comprehensive understanding of the patient’s medical background, whether they are seeking ongoing treatment or in an emergency. This process plays a key role in assessing the required level of care, the patient’s current condition, and other ongoing health factors.
Daftra offers an Admission app that will enable you to get a comprehensive overview of your patients and in this tutorial, you’ll get to know everything about the Daftra Admission App.
From the main menu click on “Admission“, then “Manage Admission” from the dropdown menu.
Click on “Add Admission”

General Information
The Admission page is divided into several sections, each includes a few details about the patient.
The first section is the “General Information”
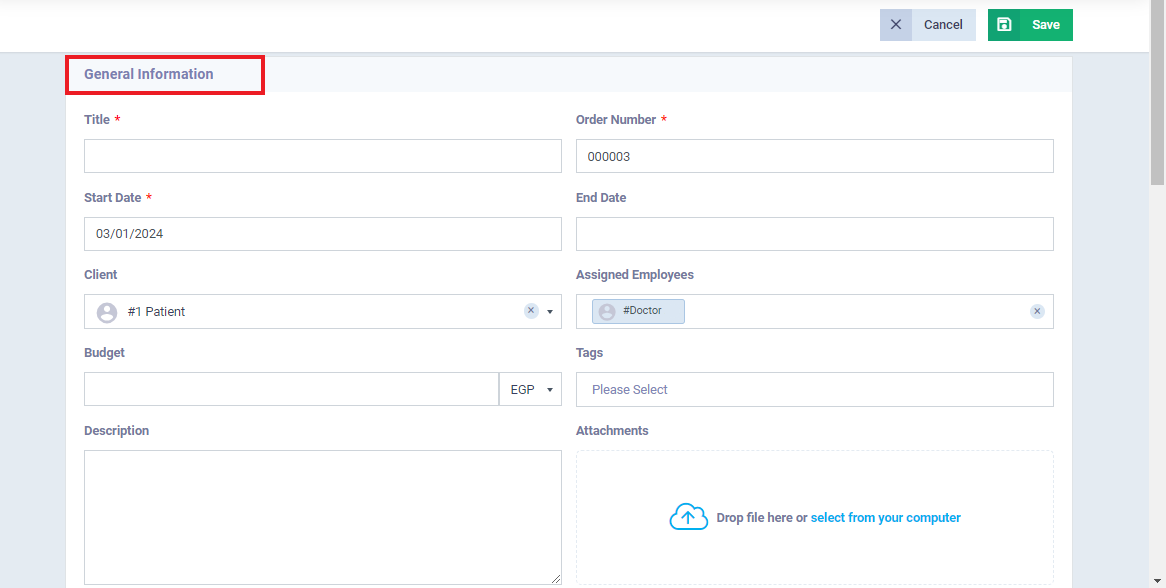
The required information is:
- Title: The patient’s required medical service.
- Order Number: A number or code that distinguishes the patients. It’s automatically set in sequence, but it can be edited or the sequencing method can be changed by adjusting the “Sequential Numbering Settings“ in the account.
- Start Date: The date of the patient’s first visit.
- Finish Date: The date of the last visit.
- Description: Provide a general description of the nature of the patient’s case.
- Tags: Enter keywords about the patient to assist in searching within the software.
- Assigned Employee: The doctor responsible for the patient’s case.
- Client: Choose a patient from the list.
- Budget: Patient’s payments average.
- Attachments: Attach medical prescriptions, x-rays, or any needed documents.
Examination Information
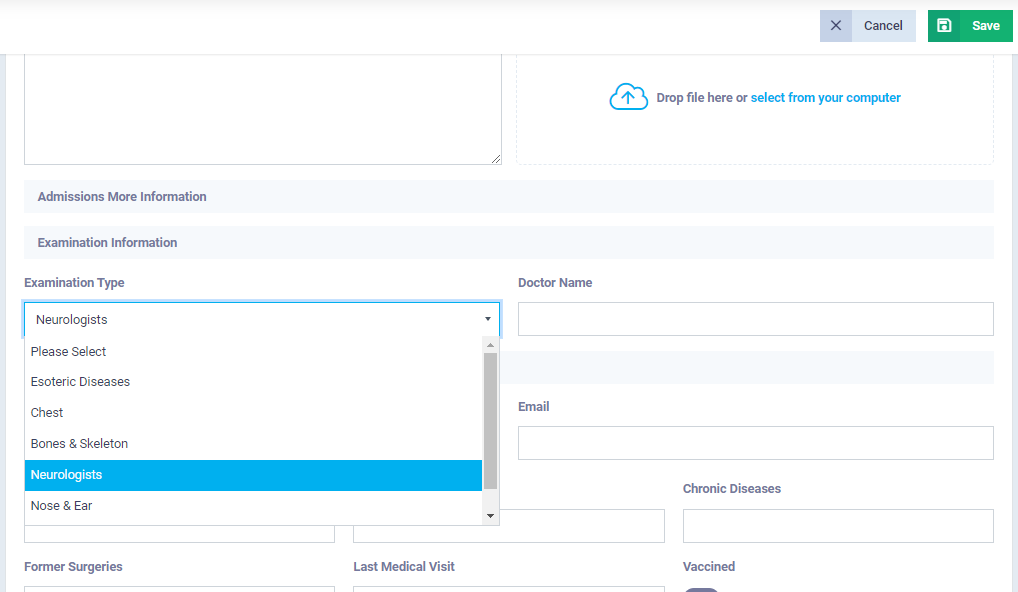
When you scroll down you’ll find the next field which is the examination information, and it includes:
- Examination Type: The doctor/medical specialist is the patient here to see.
- Doctor Name: The specified doctor for the selected medical specialist.
Patient Information
The next field is “Patient Information” and it includes all the information that the doctor needs to know about the patient such as:

- Patient Number: Add the patient’s mobile number
- Email: An email is required to follow up with the patients, send their medical prescriptions, and reminders for their appointments
- Age: Patient’s age
- Address: Patient’s residence
- Chronic Diseases: Add any chronic diseases such as heart disease, and diabetes
- Former Surgeries: Any surgery that the patient had before
- Last Medical Visit: The patient’s last visit to the clinic
- Vaccine: Whether the patient is vaccinated or not.
- Complain: What does the patient complain about?
- Medical Notes: Any other note or info about the patient that needs to be added.
- Analyzes and X-rays: Upload any required document.
Insurance
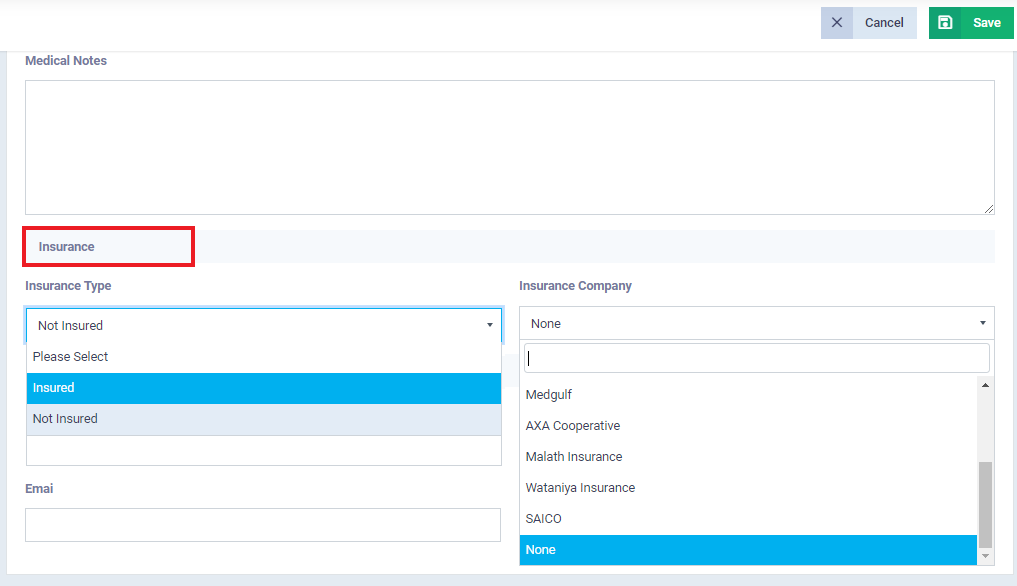
In the insurance field you’ll need to fill in the following info:
- Insurance Type: Choose whether the patient is insured or not.
- Insurance Company: Choose the insurance company.
Partner Information
The “Partner Information” field should be filled in case the patient needs to stay in the hospital and needs a companion to stay with him. You’ll need to fill in the following info:
- Partner Full Name
- Phone Number
- Relation

With this, we have explained the admission app and clarified all the steps and required info you’ll need to fill in for a new patient’s admission.
Edit Admission Status
After saving the admission you can add or edit the status of it and specify whether the case is critical, normal, or under surgery, or you can add any status you need.
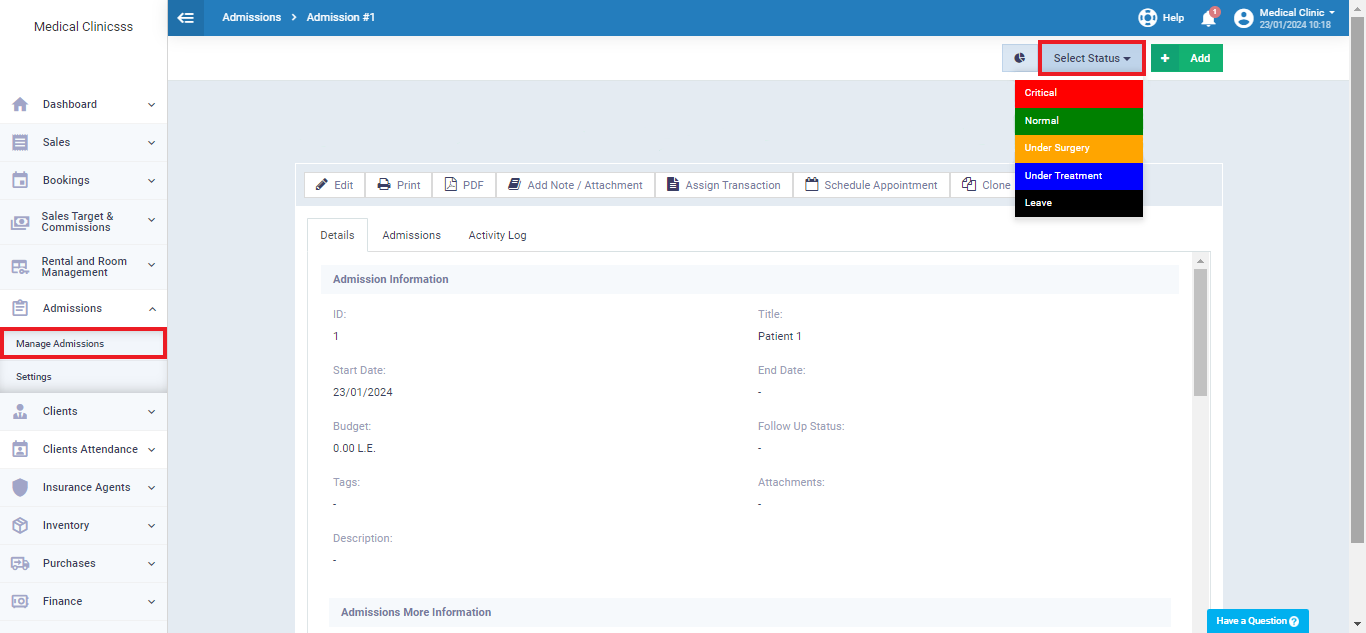
Click on “Manage Admissions“, then select the desired admission.
On the top right of the page click on “Select Status” and choose the required status.
To edit the status list click on “Settings” from the dropdown menu of “Admission“,
then click on the card “Workflow types” and then choose “Admission“.
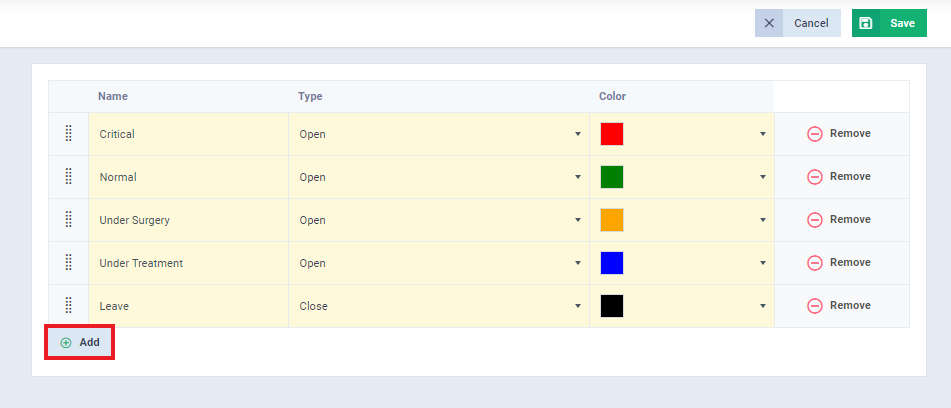
You’ll then be directed to the following page click on “Manage Statuses”
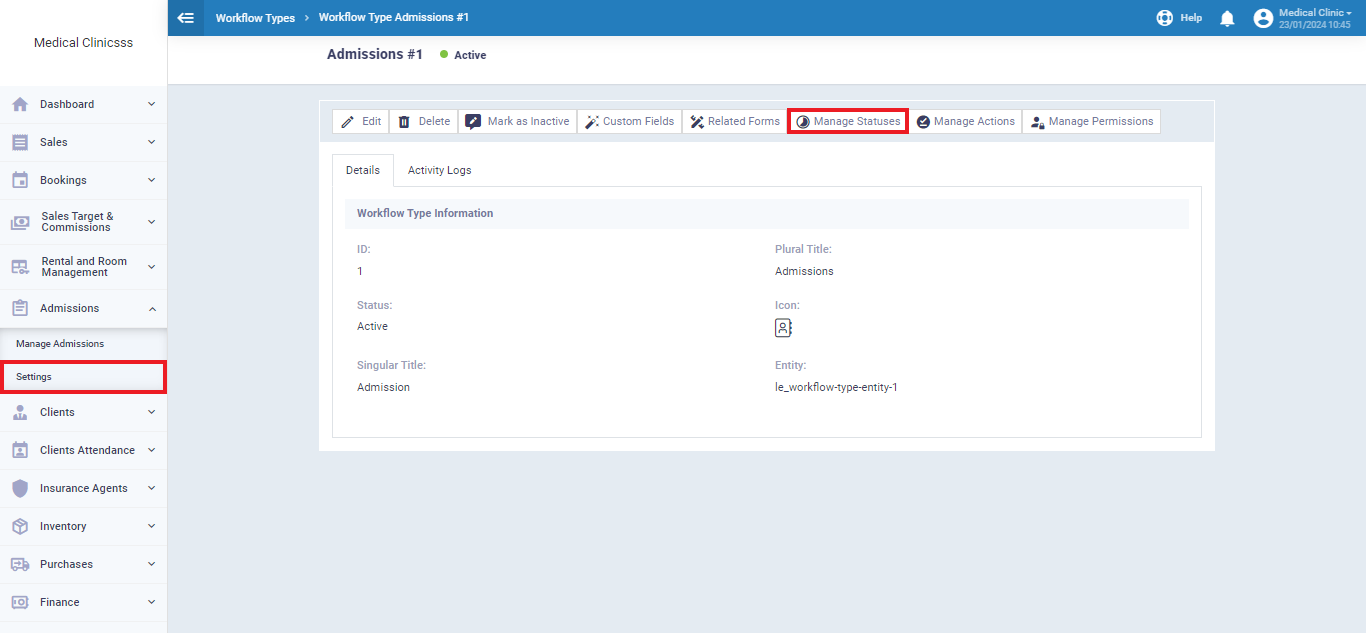
This page allows you to change the status name, color, type, or remove the status.
From the bottom of the page, click “+Add” to create a new status and select a name, type, and color from the columns.