How to Update Product Tax
The system enables you to update all products at once, which helps you quickly adjust tax data without having to update each product individually. This guide walks you through the detailed steps to perform the update easily.
Download a Backup of Products
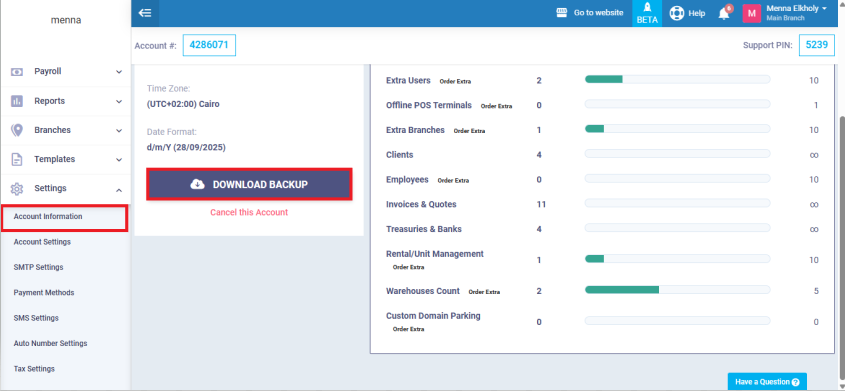
First, go to “Settings” from the main menu, then open “Account Information.” Click the “Download Backup” button.
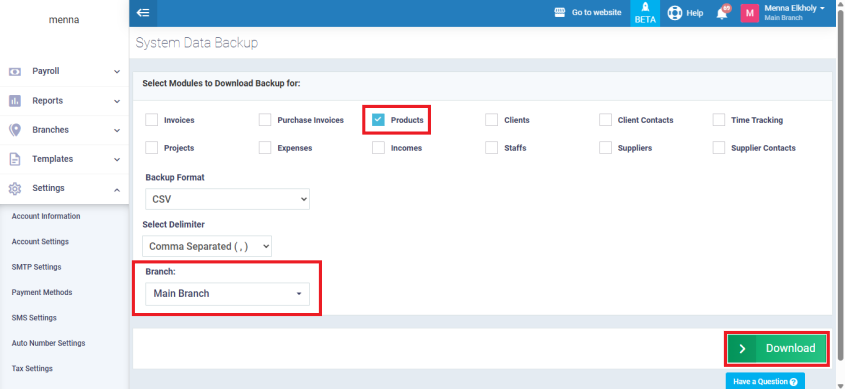
Next, check the box of Products. Choose the required branch and click “Download.” An Excel file containing all products will be downloaded.
Prepare the File in Google Sheets
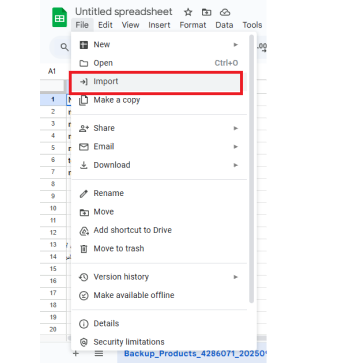
Open Google Sheets, then use “Import” to upload the Excel file you downloaded.
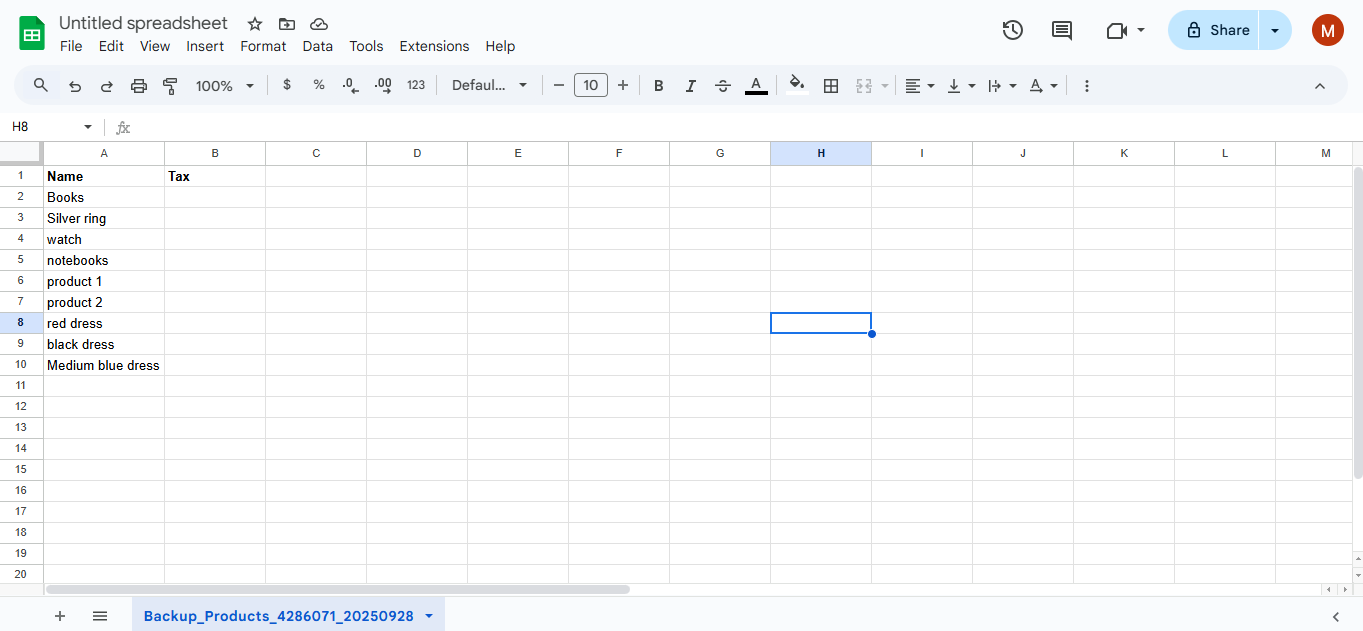
Once the file is open, delete all columns except for the “Product” column. Then create a new column named “Tax” to prepare it for entering tax data.
Add the Tax Data
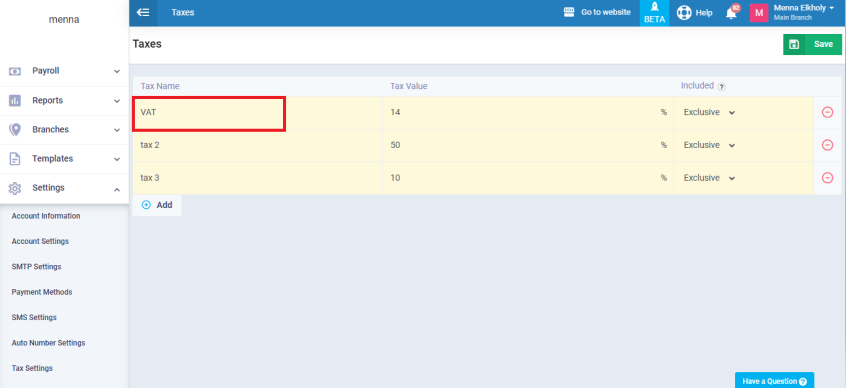
Go back to “Settings” and select “Tax Settings”. Copy the name of the tax you want to apply.
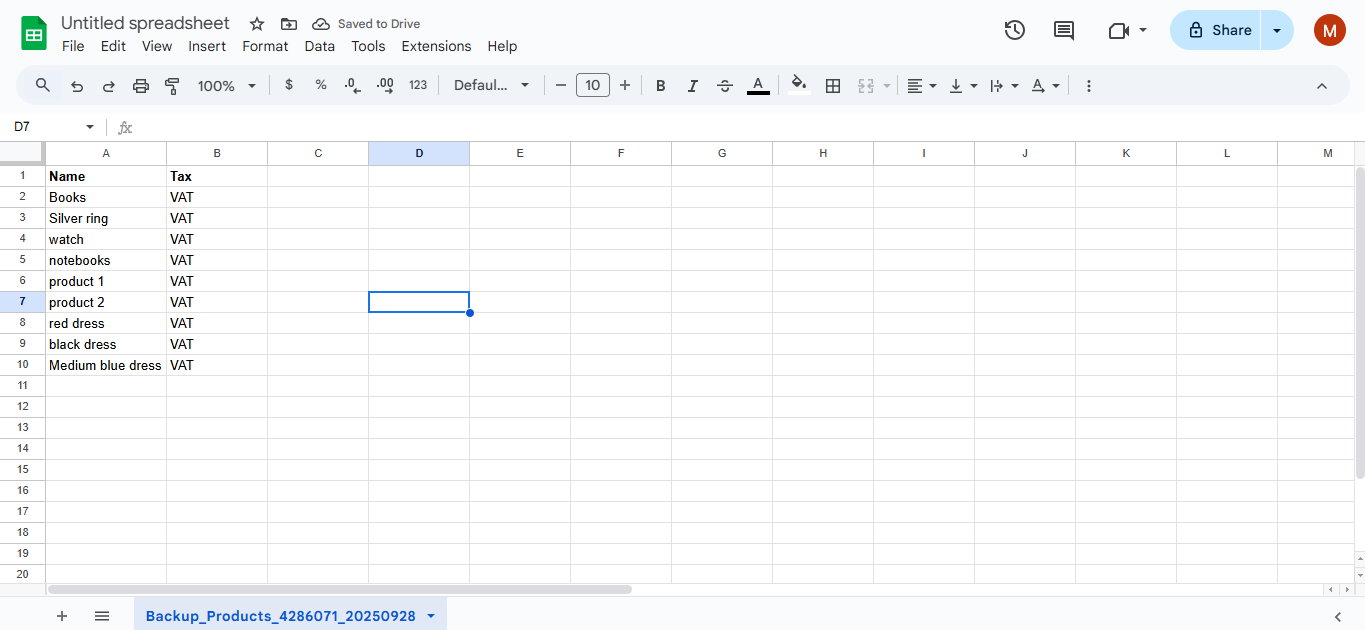
Return to Google Sheets and paste the tax name into the new “Tax” column you created.
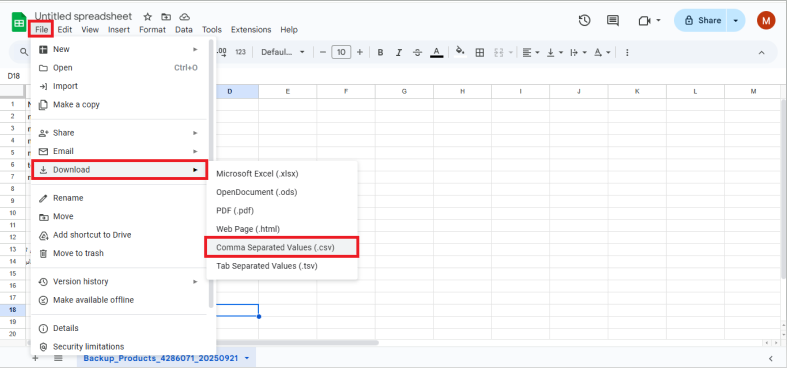
When finished, go to the “File” menu, select “Download”, and save the file as Comma Separated Values (.csv) so it’s ready for import.
Import the Updated File into the System
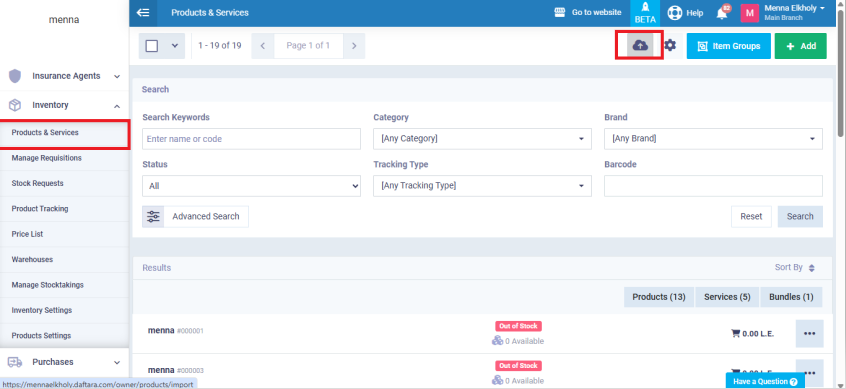
From the main menu, go to “Inventory”, choose “Products & Services”, then click “Import”.
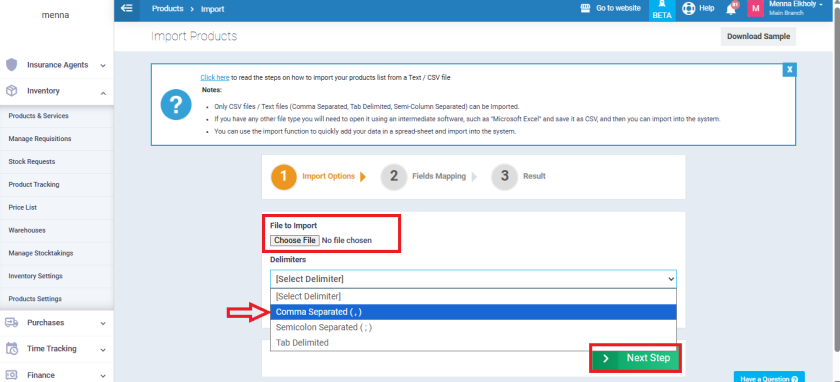
Click “Choose File” and upload the CSV file you saved from Google Sheets. Select the “Comma Separated” option, then click “Next Step”.
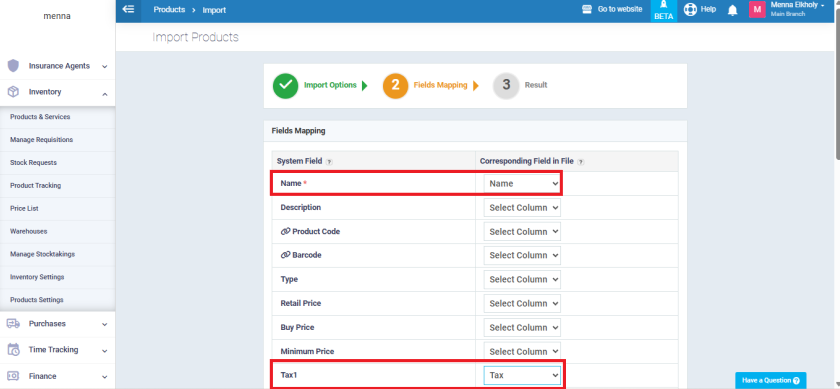
On the Fields Mapping screen, map name to the Name field, and map Tax to the Tax 1 field.
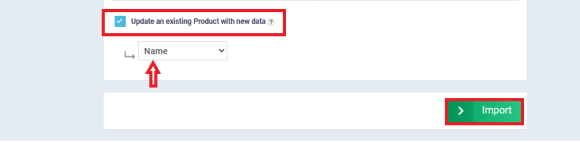
Next, enable the option “Update an existing Product with new data” and set “Name” as the primary key for the update. Finally, click “Import” to complete the process.